Tools You’ll Need:
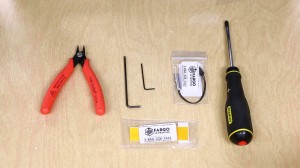
- Side Cutters
- 2.5 mm Hex Key
- 1/16th Hex Key
- Phillips Screwdriver
- Ceramic Insulation Tape
- New Heater Cartridge
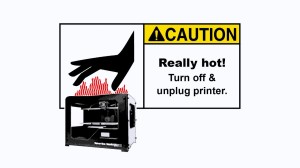
CAUTION HOT! Make sure your 3D printer is turned off and unplugged.
Let’s Get Started
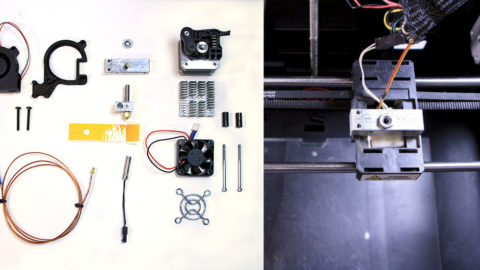
1. Remove the extruder from the carriage
2. Remove old ceramic insulation tape
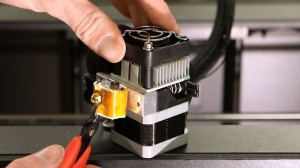
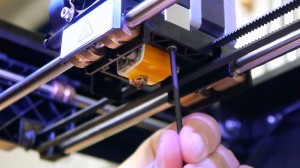
3. Loosen the set screw holding the old heater cartridge in the heater block
- Use the 1/16th hex key
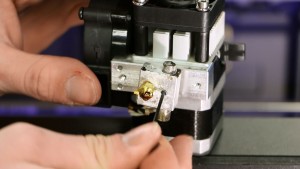
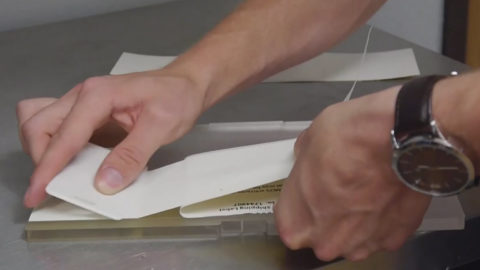
4. Pull the heater element out
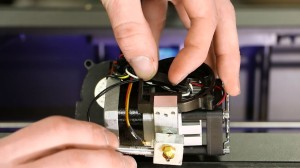
5. Using the screwdriver, open the blower fan mounted on the extruder head
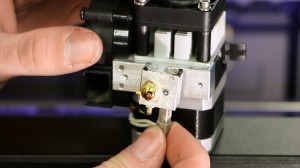
6. Inside you will find a small black connector. Press down on the lever and pull to release
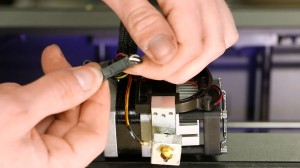
7. Plug the new heater cartridge into this black connecting end
8. Replace the connector back inside, with the wires running through the mount opening
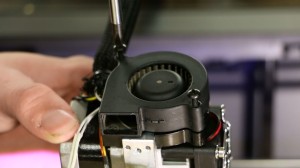
9. Insert the new cartridge into the heater block
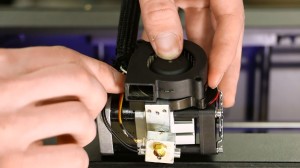
10. Replace the blower fan on its mount
- Make sure to run its wire through the same opening you ran the heater cartridge through
11. Set the heater cartridge by tightening the heater block set screw
12. Replace with new ceramic tape
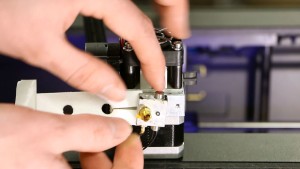
13. Once installed, remount the extruder onto the carriage
-FIN-


Thanks for this useful post on how to install heater cartridge in a 3D printer. This is absolutely Instructive.
Interesting, I never thought that I could find a video on how to install a heater cartridge. Yet, here I am looking at step by step pictures. I think I may just end up hiring a professional to fix it anyways.