Let’s Install:
Ender 3 Direct Drive Upgrade Kit
You’ve received your Direct Drive Upgrade Kit for the Ender 3/3 Pro. Follow along with the video or the written instructions below to learn how to install.
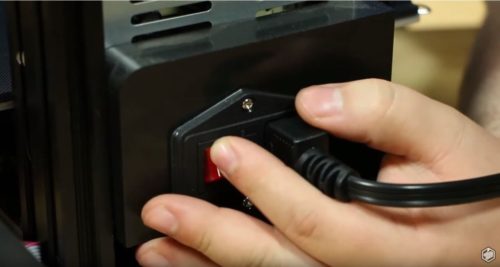
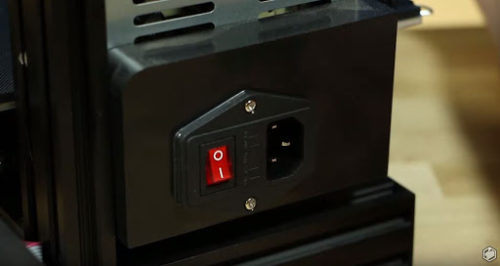
As always, turn off and unplug your printer before doing any repair work.
- Philips Head Screwdriver
- Wrench
- Metric Allen Wrenches (Original Allen Keys Should Work)
- Side Cutter/Flush Cutters
- Direct Drive Kit
3
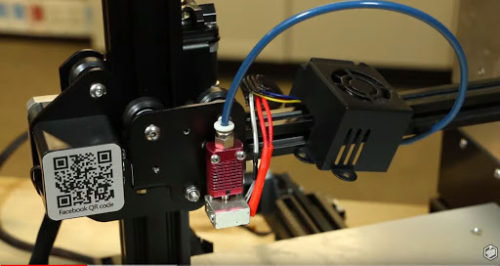
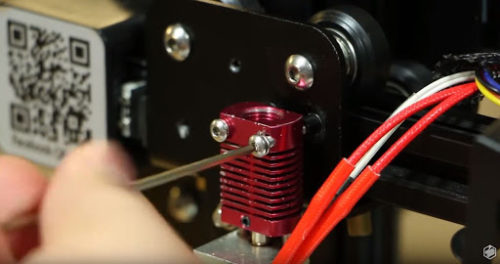
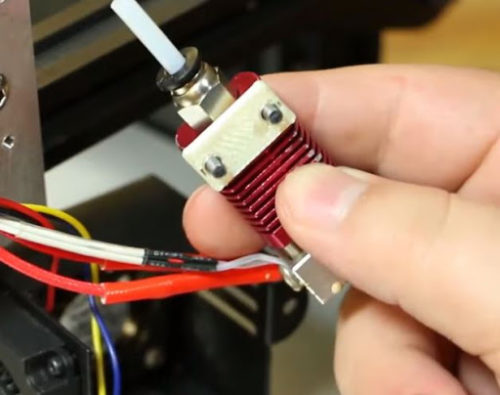
Unscrew heat sink from x carriage.
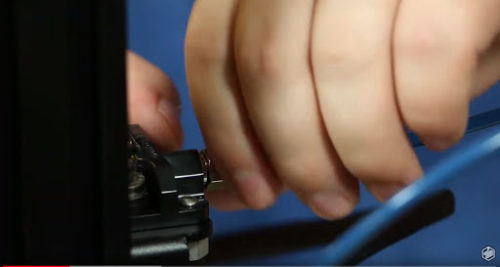
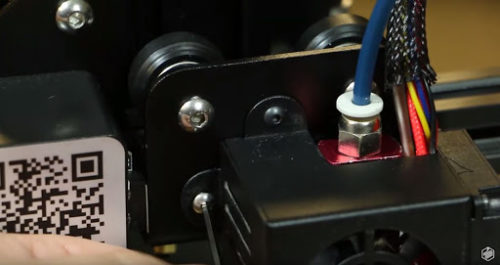
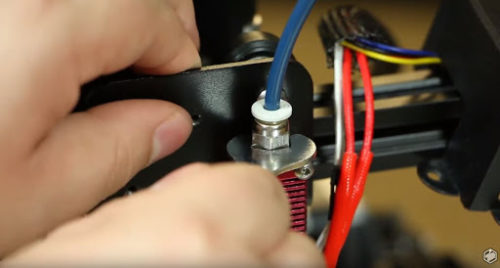
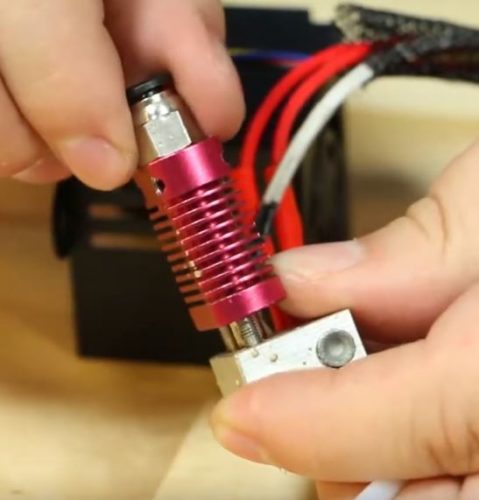
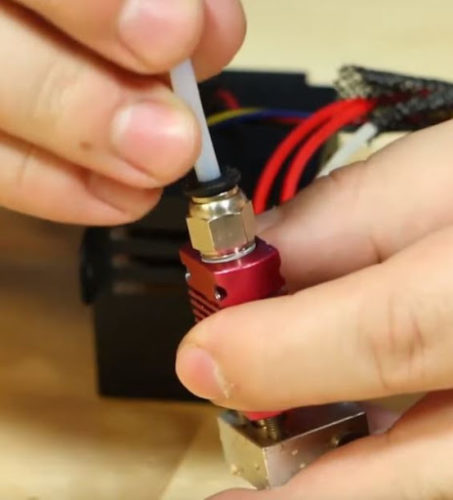
- Using a crescent wrench, remove the bowden connector from the heat sink.
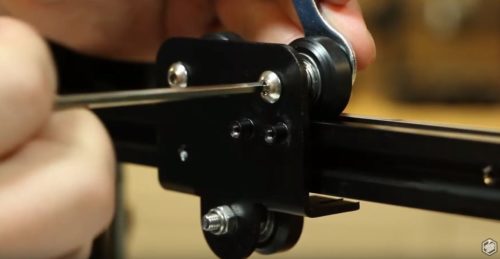
- Use the 2mm allen wrench to remove the two screws on the heat sink.
- Set screws and washers aside. (You will use these later.)
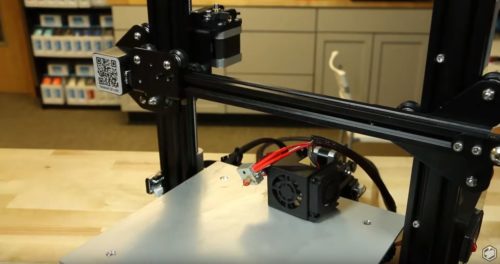
- Place the hotend and fan shroud somewhere safe so that you may work on the rest without damaging them.
4
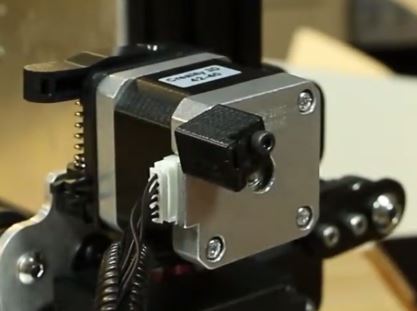
Remove the extruder.
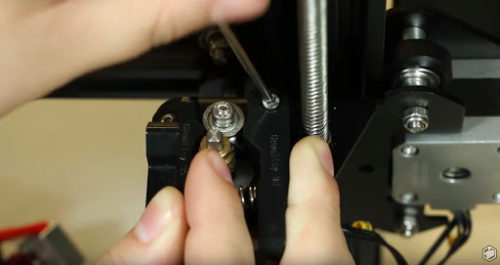
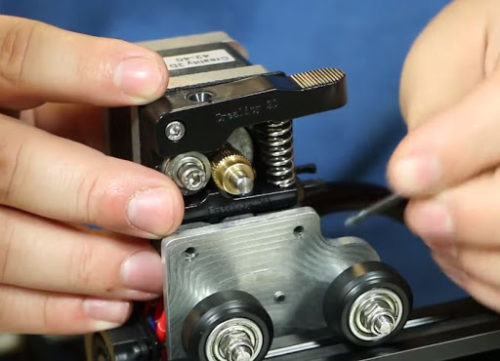
- Use the 2.5mm allen wrench to remove the screw from the lever on the extruder. Depress the lever so that it is flush with the rest of the extruder.
- Be careful so that the spring does not shoot off. You’ll need these parts later.
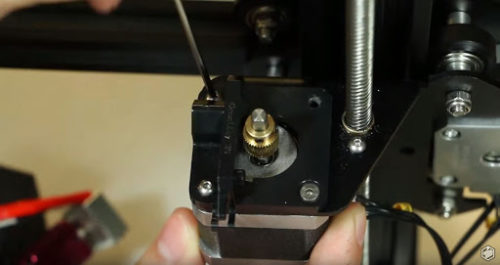
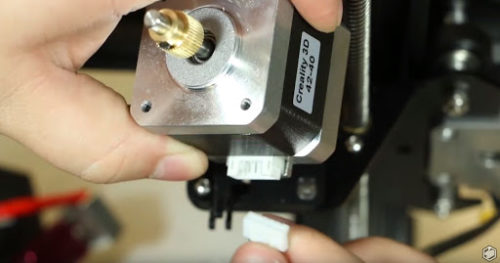
- Remove all three of the remaining screws from the extruder using the 1.5mm wrench. Keep them aside for later. When the extruder is released from the screws it will drop. Make sure to hold it when it is released.
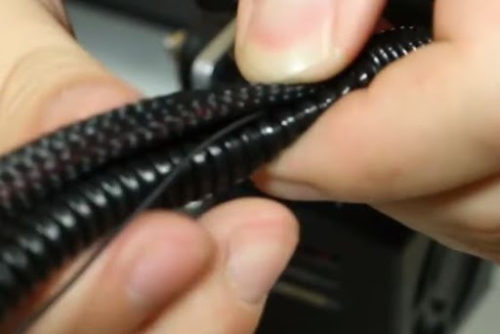
- Make sure to release the stepper motor from the wire. This could of been done earlier but should be completed before moving on from here.
- Take the extruder mount off its perch. Set the screws aside. (You will need these later.)
5
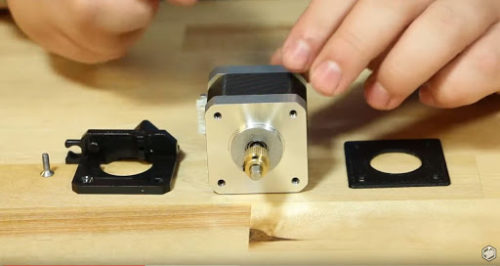
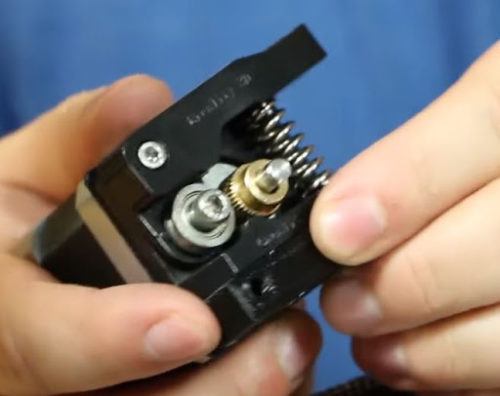
Reassemble with spacer.
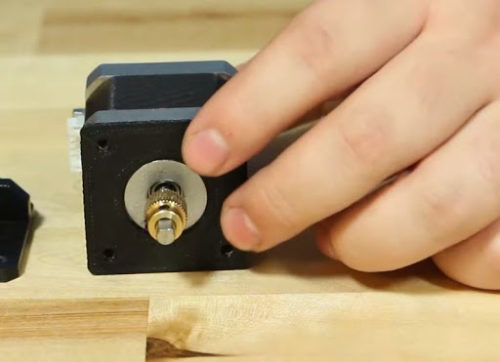
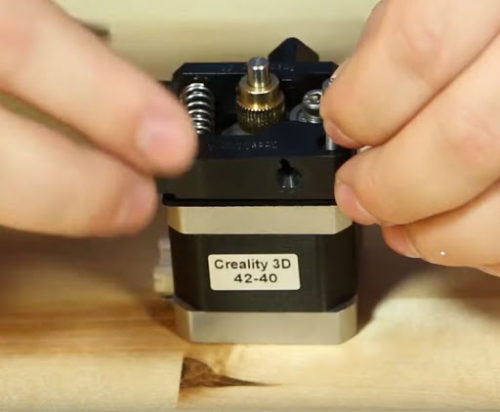
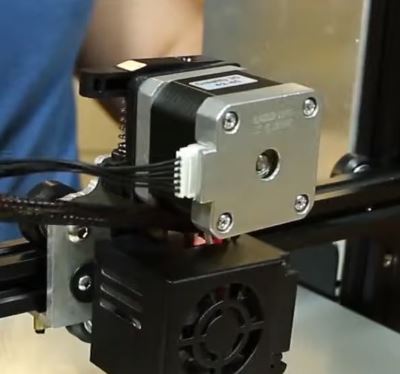
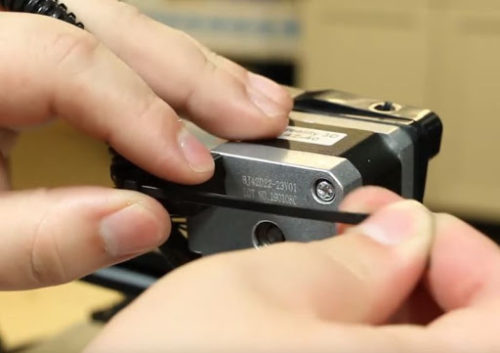
- When reassembling the extruder, make sure that the stepper motor wire connector is on your left.
- Place the spacer on the stepper motor before assembling anything.
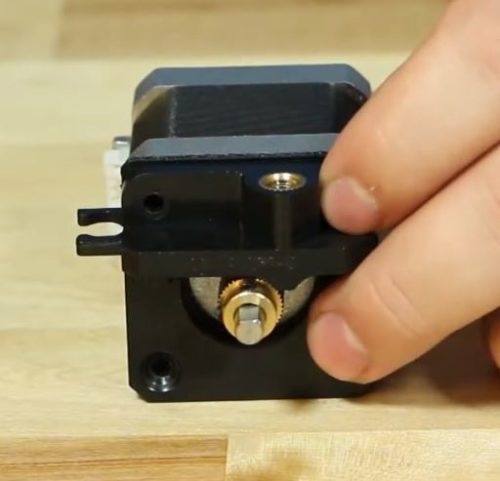
- When the spacer is on, place the filament feeder upside down.
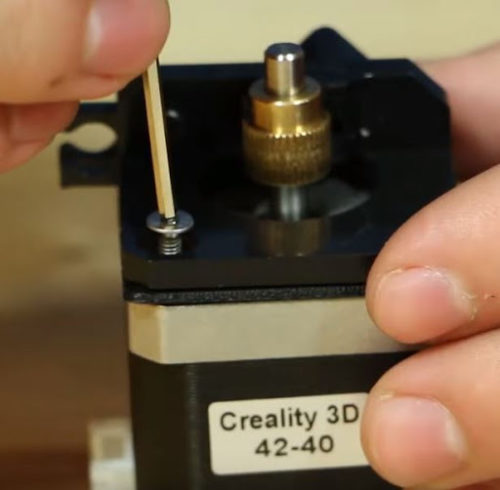
- Place the small flat top screw from earlier into the bottom left of the extruder. Use the 1.5mm wrench to put in the screw. Screw should be snug, but not overly tight.
9
Attach the new carriage.
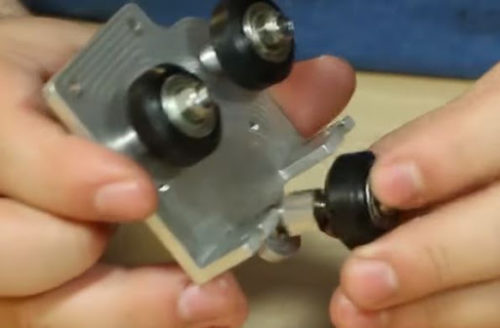
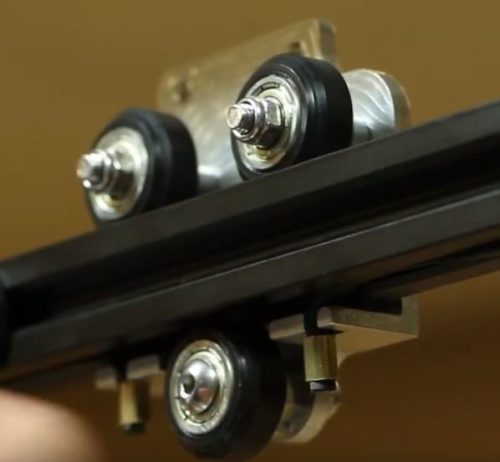
- Loosely attach the wheels from the x carriage. This will come in handy later when you attach the carriage to the gantry.
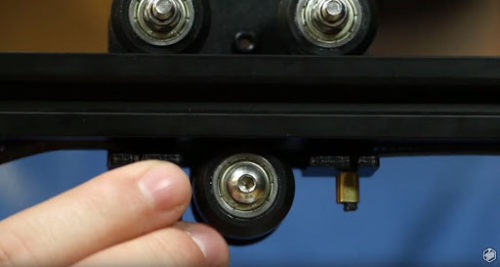
- The bottom wheel has an eccentric nut. Attach the bottom wheel loosely.
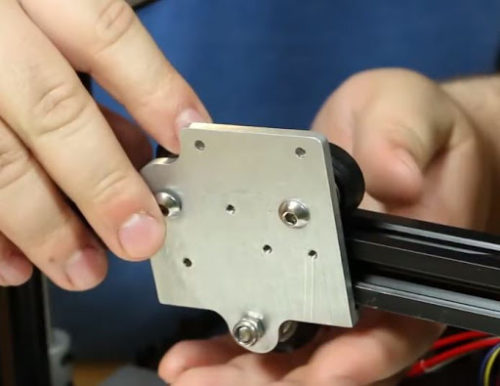
- Slowly move the wheels if needed – push the carriage onto the gantry. Then proceed to tighten it onto the gantry. Make sure to give it a slide to make sure it is attached.
- If the new carriage wiggles, use a wrench to tighten the eccentric nut.
12
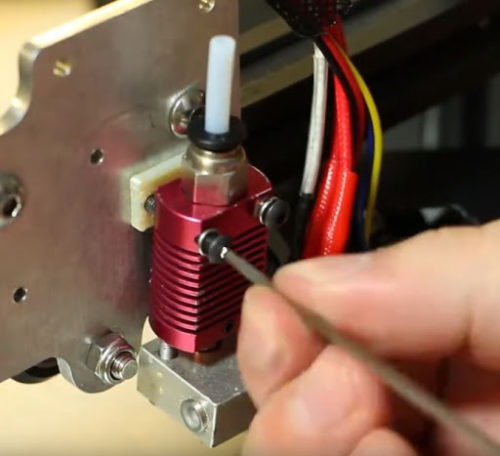
Replace hot end heat sink.
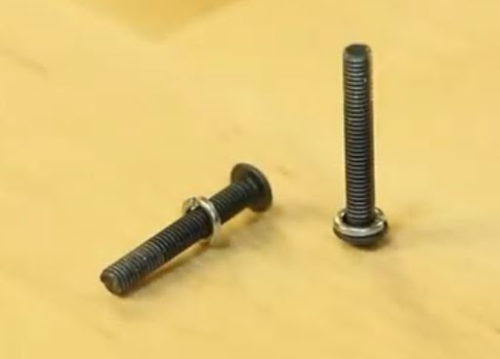
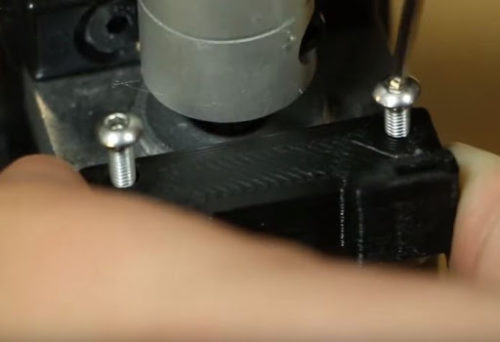
- Take the washers from the previous hot end screws and put them on the new hot end screws from the kit. The screws are the M3 X 20 from the kit.
- Proceed to put the screws into the hot end.
- Then place the hotend bracket behind it. The hot end is now ready to be mounted.
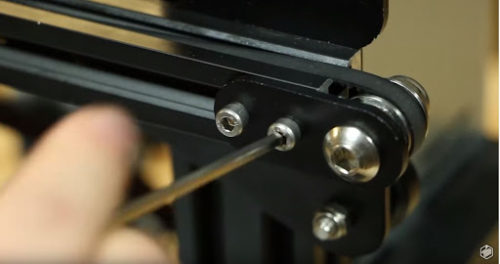
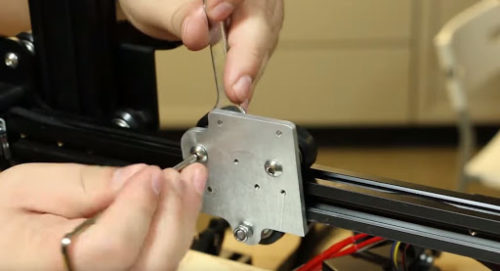
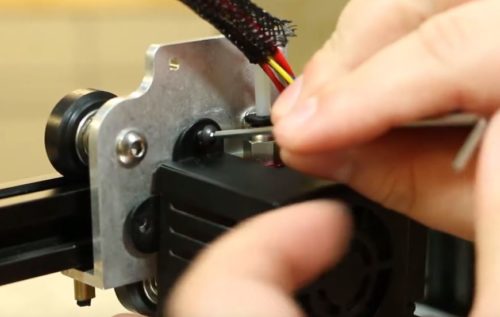
- Using the 2mm wrench, screw in the screws on the carriage.
16
Attach wire mount.
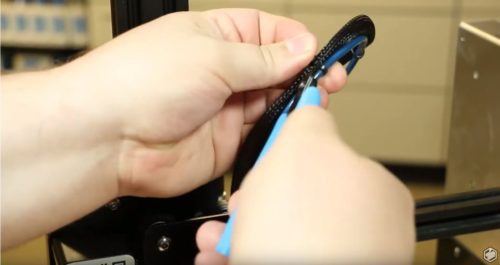
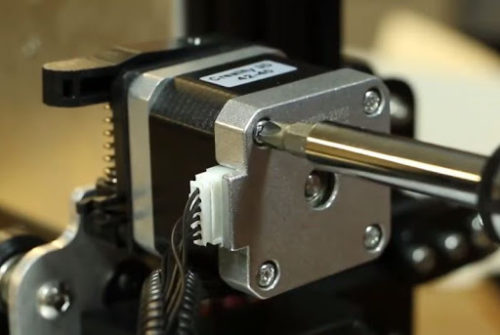
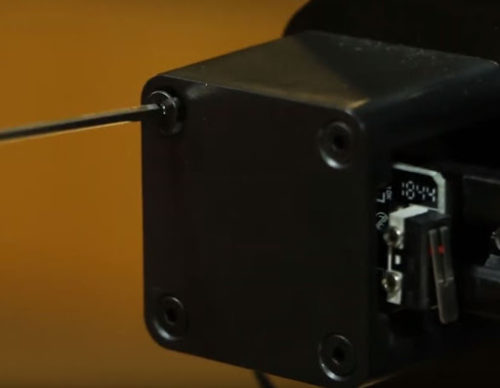
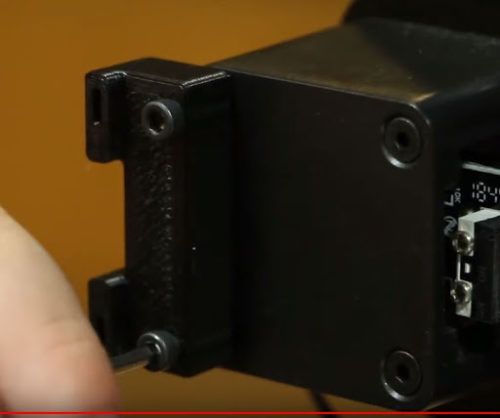
- Using the Phillips screwdriver, remove the top left screw from the extruder. You may need extra help to slide the screw out.
- Grab the smallest wire mount from the kit. Put the M3 x 50 screw through it and attach it to the extruder. The wire mount may be a little loose.
- Using the screws from the extruder, you will be able to attach the wire mount on the back of the printer.
You have finished installing the Ender 3 Direct Drive Upgrade Kit. You will need to rotate the filament holder so work with the new set up. Don’t forget to relevel your bed.
Happy printing!

