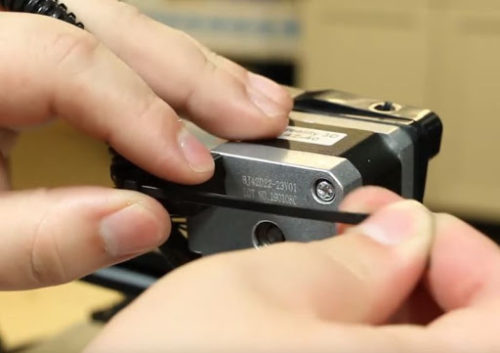
Let’s Install:

Ender 5 Direct Drive Upgrade Kit

You’ve received your Direct Drive Upgrade Kit for the Ender 3/3 Pro. Follow along with the video or the written instructions below to learn how to install.

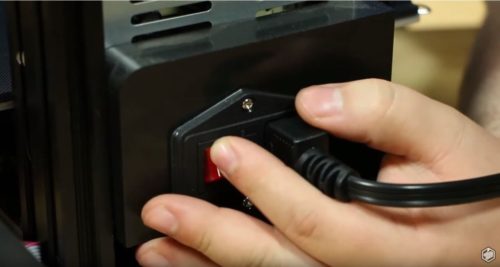
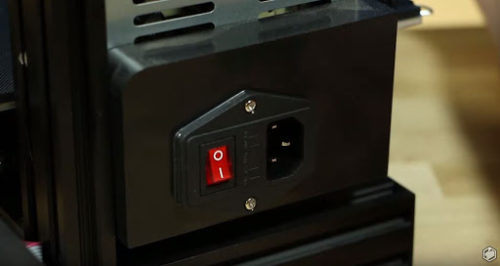
As always, turn off and unplug your printer before doing any repair work.

  • Philips Head Screwdriver
  • Wrench
  • Metric Allen Wrenches (Original Allen Keys Should Work)
  • Side Cutter/Flush Cutters
  • Direct Drive Kit

1

Getting Started

  • Remove all filament from the extruder and let your printer cool. Turn off and remove power cord.
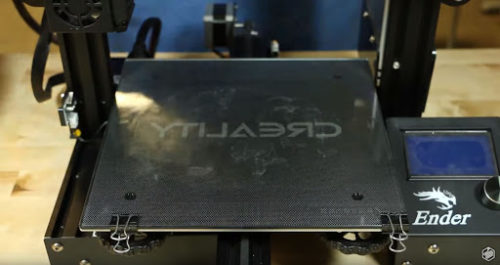
  • Tip: Remove glass build plate to avoid parts falling onto it and breaking it.
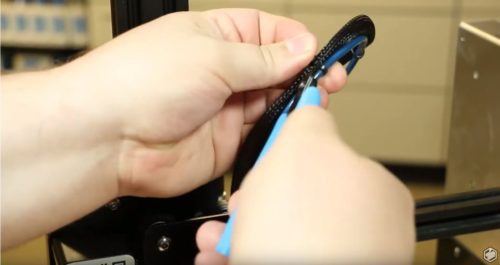
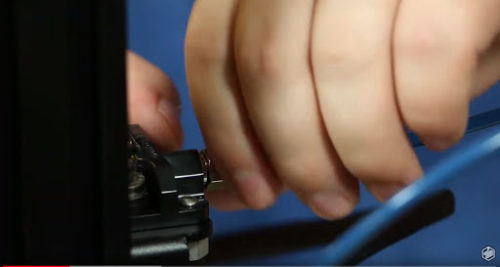
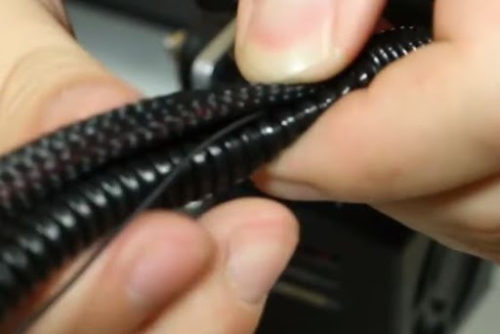
  • Proceed to cut the zip ties off of the wires and PTE tube.
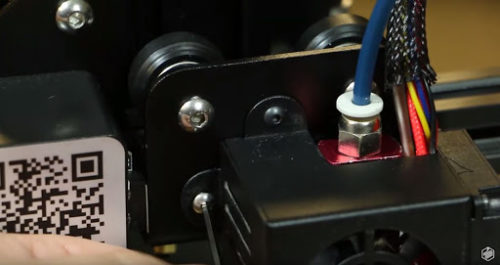
  • Remove the bowden connector from the extruder.

2

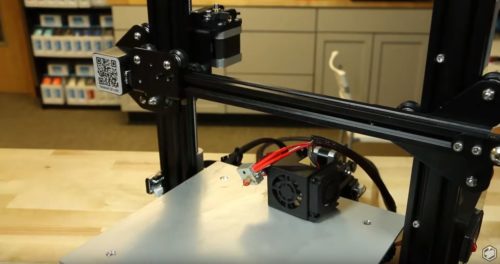
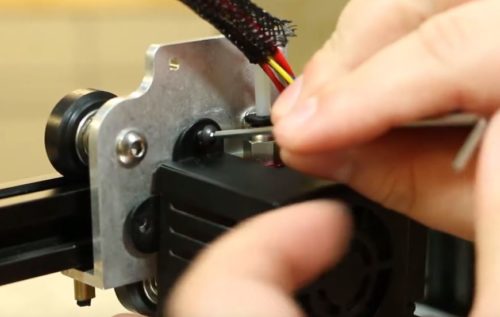
Remove fan shroud.

  • To remove the fan shroud, use the 2mm allen wrench to remove the two screws.  Hold on to them as you will need them later.
  • Place the fan shroud on the X gantry.  This will help alleviate the stress on the wires. 

3

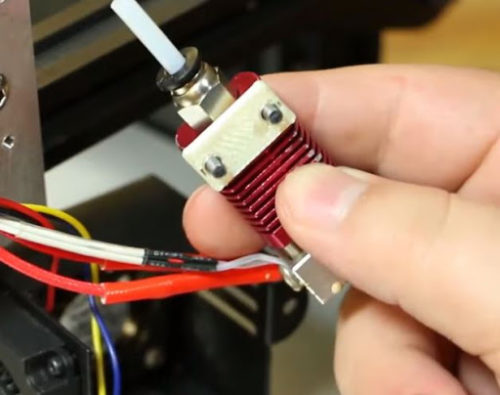
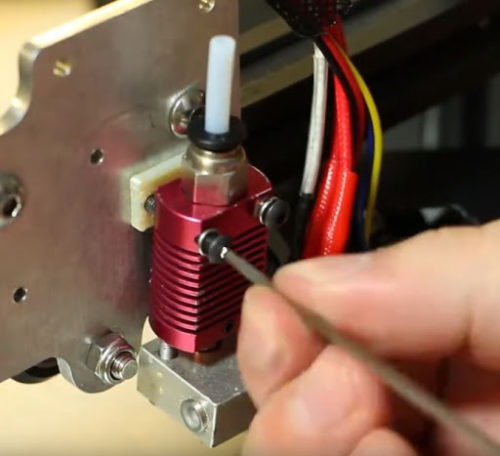
Unscrew heat sink from x carriage.

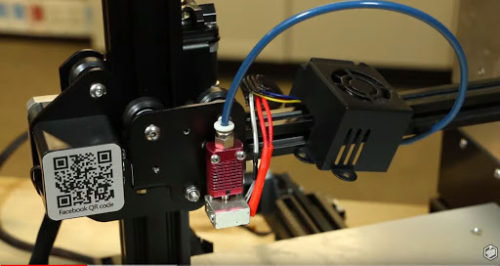
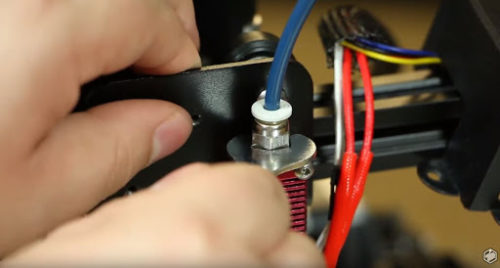
  • Using a crescent wrench, remove the bowden connector from the heat sink.
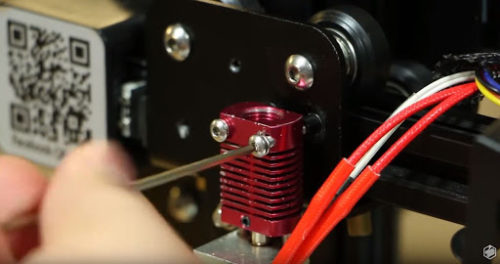
  • Use the 2mm allen wrench to remove the two screws on the heat sink.
  • Set screws and washers aside. (You will use these later.)
  • Place the hotend and fan shroud somewhere safe so that you may work on the rest without damaging them.

4

Remove the extruder.

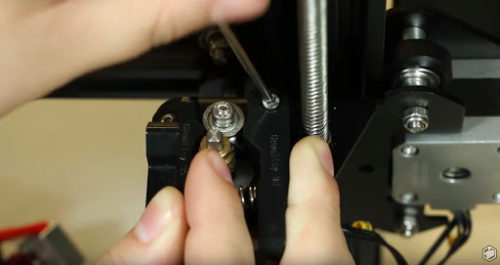
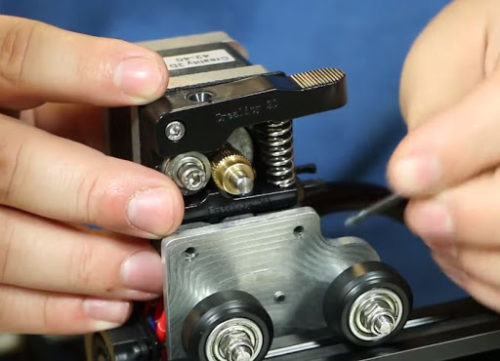
  • Use the 2.5mm allen wrench to remove the screw from the lever on the extruder. Depress the lever so that it is flush with the rest of the extruder.
  • Be careful so that the spring does not shoot off. You’ll need these parts later.
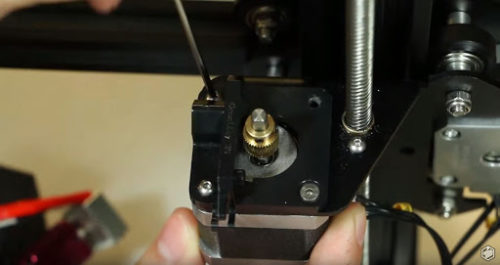
  • Remove all three of the remaining screws from the extruder using the 1.5mm wrench.  Keep them aside for later. When the extruder is released from the screws it will drop.  Make sure to hold it when it is released.  
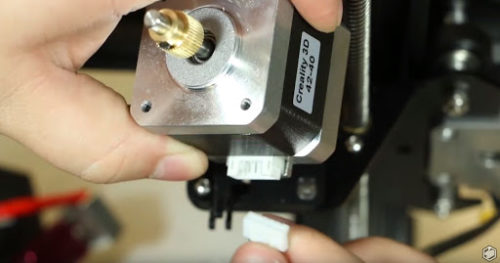
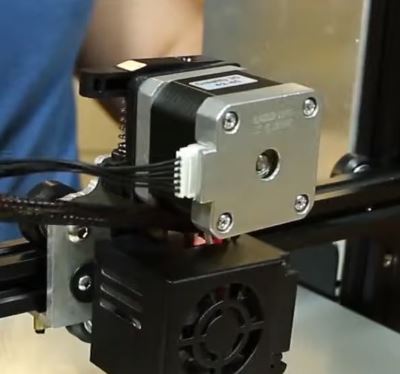
  • Make sure to release the stepper motor from the wire.  This could of been done earlier but should be completed before moving on from here. 
  • Take the extruder mount off its perch. Set the screws aside. (You will need these later.)

5

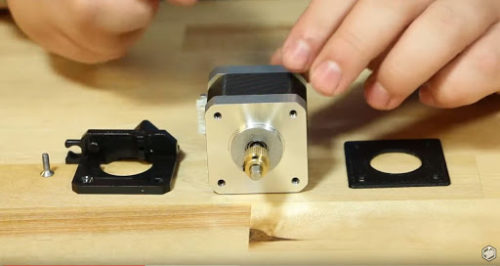
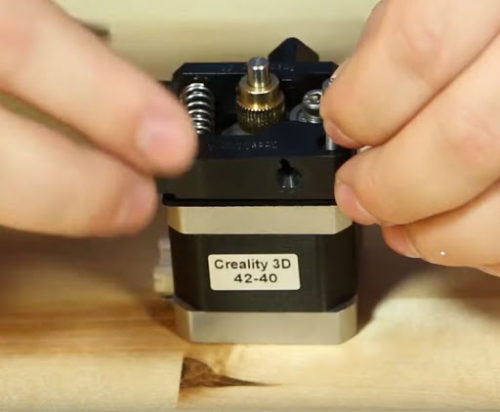
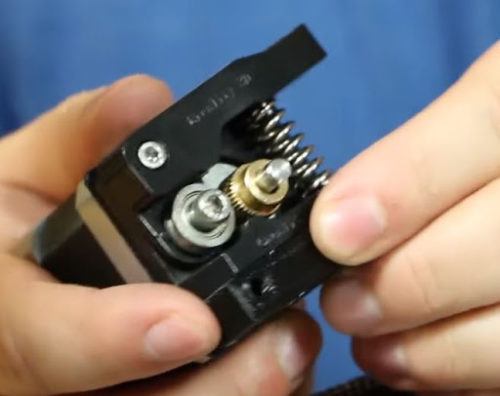
Reassemble with spacer.

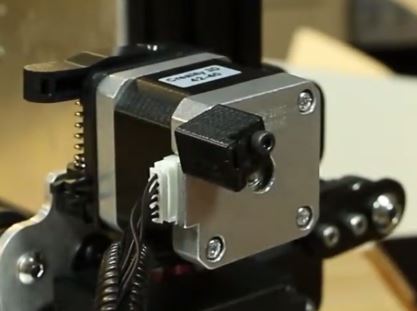
  • When reassembling the extruder, make sure that the stepper motor wire connector is on your left.
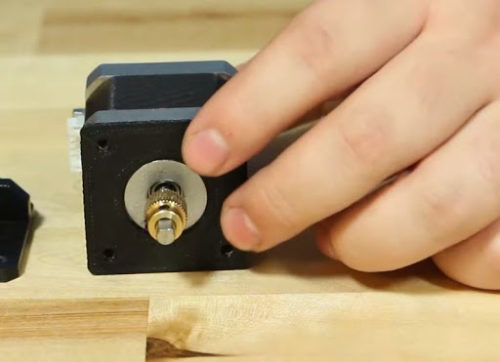
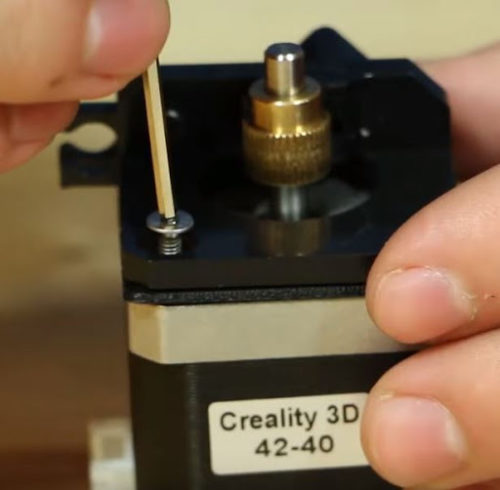
  • Place the spacer on the stepper motor before assembling anything.
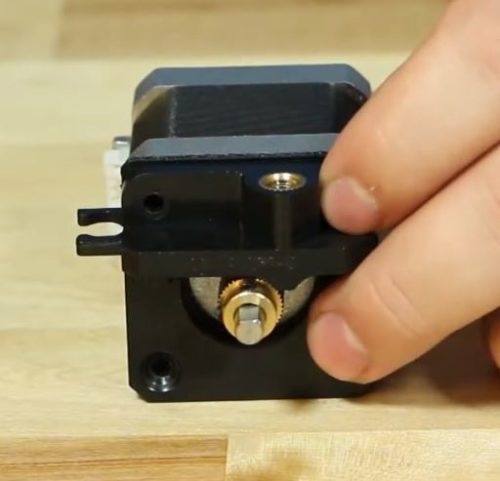
  • When the spacer is on, place the filament feeder upside down.
  • Place the small flat top screw from earlier into the bottom left of the extruder.  Use the 1.5mm wrench to put in the screw. Screw should be snug, but not overly tight.

6

Replace spring and lever.

  • Place the spring on the mount on the notch of the mount and the lever.
  • Use the 2mm allen wrench to put the screw into the lever. Should not be overly tight. It can cause trouble with feeding in filament.

7

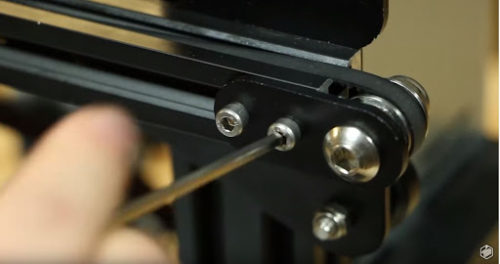
Remove the belt.

  • Move your carriage to the center and unscrew the two screws on the belt tightener.
  • Remove the belt from the X carriage.

8

Remove x-carriage from gantry.

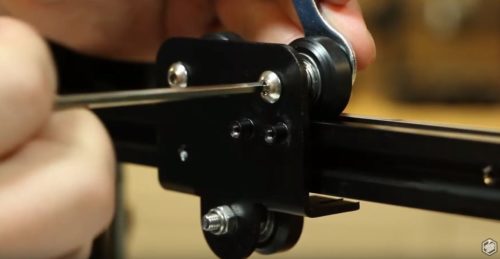
  • Remove screws of x carriage wheels using the 2mm allen wrench.
  • You will need to hold the bolt on the other side with a wrench to remove the screw. Remove all three.
  • Keep the wheel bolts together. (You will use them later.)
  • Remove the carriage from the gantry.

9

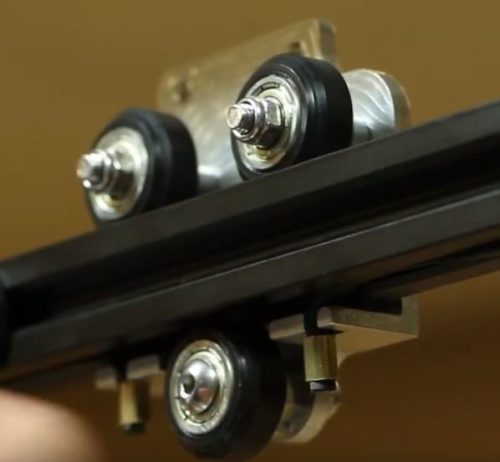
Attach the new carriage.

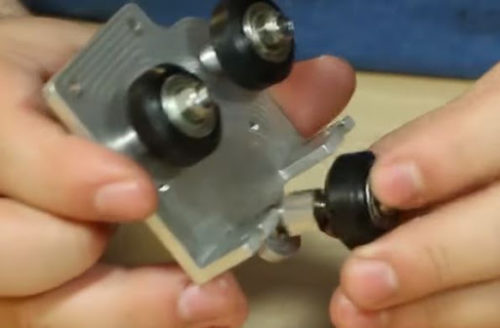
  • Loosely attach the wheels from the x carriage.  This will come in handy later when you attach the carriage to the gantry.  
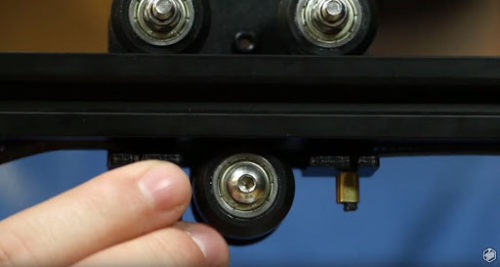
  • The bottom wheel has an eccentric nut. Attach the bottom wheel loosely.
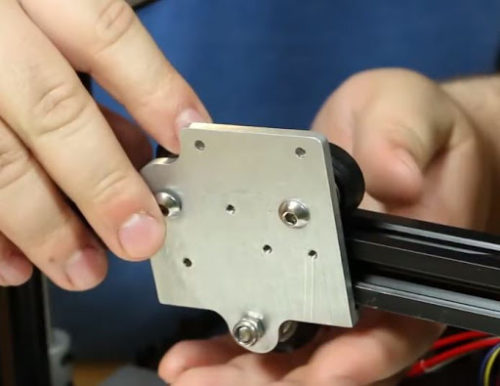
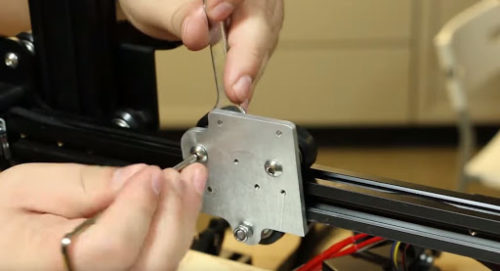
  • Slowly move the wheels if needed – push the carriage onto the gantry.  Then proceed to tighten it onto the gantry. Make sure to give it a slide to make sure it is attached. 
  • If the new carriage wiggles, use a wrench to tighten the eccentric nut.

10

Reattach belt.

  • Reattach both of the belts onto the X carriage.  Make sure to then tighten the belt tightener. Slide the carriage around until you are satisfied.  

11

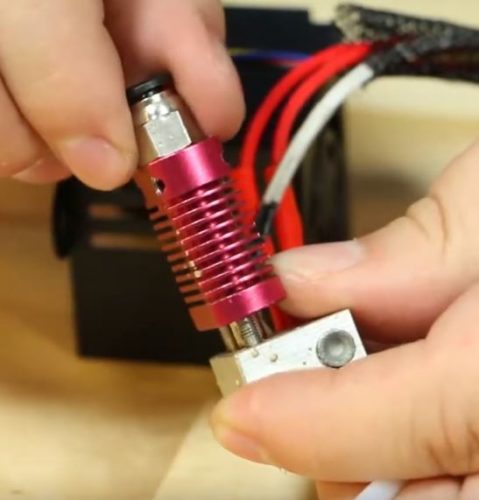
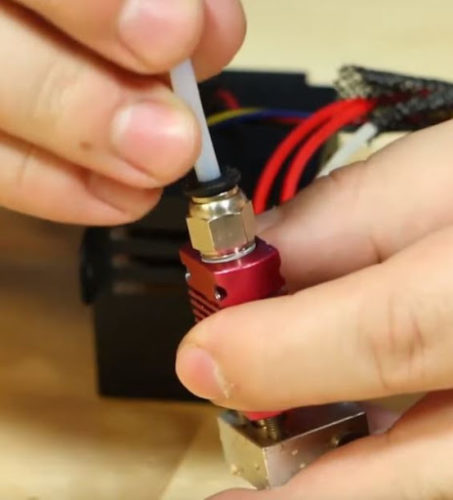
Add PTFE tube.

  • Using the new bowden connector in the kit, attach it to the hot end heat sink.
  • Screw it in – then back it out two full turns.
  • Place in the PTFE tube, then use a wrench to screw in the bowden connector all the way.

12

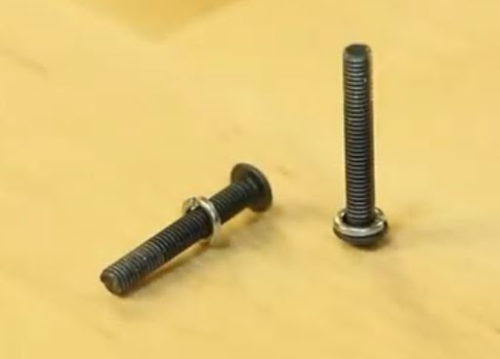
Replace hot end heat sink.

  • Take the washers from the previous hot end screws and put them on the new hot end screws from the kit.  The screws are the M3 X 20 from the kit.  
  • Proceed to put the screws into the hot end. 
  • Then place the hotend bracket behind it.  The hot end is now ready to be mounted.
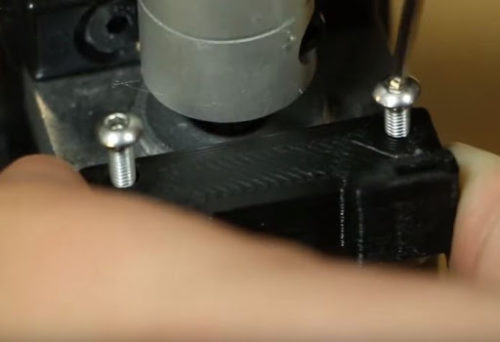
  • Using the 2mm wrench, screw in the screws on the carriage.

13

Attach fan shroud.

  • The screws used earlier from the shroud can be used now to reattach it again.

14

Attach extruder to X carriage.

  • Grab the motor spacer and place it on the extruder.
  • Line PTFE tube up with the spot the bowden connector was.
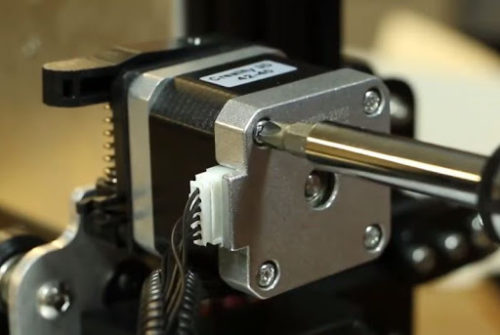
  • Using the M3 X 25 screws, we can mount the extruder to the X carriage.
  •  Now using the wire extension, attach the stepper motors and wires together.  

15

Bundle wires.

  • Now using the wire ties, attach the extruder wire and the other wires together.  

16

Attach wire mount.

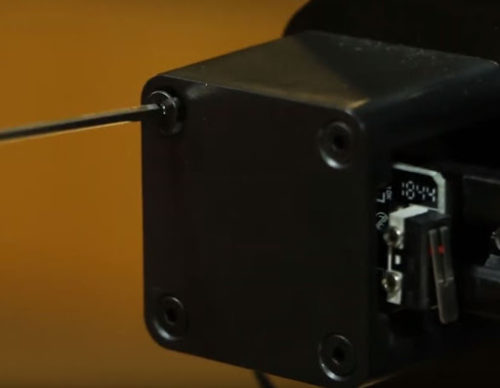
  • Using the Phillips screwdriver, remove the top left screw from the extruder. You may need extra help to slide the screw out.
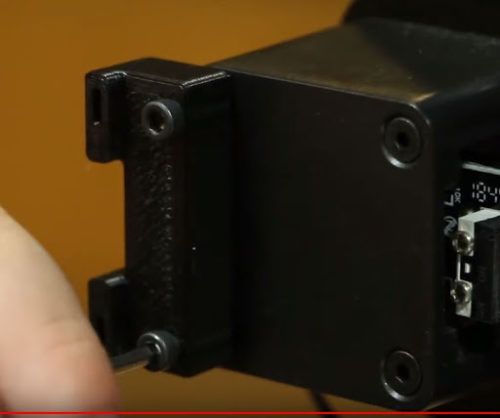
  • Grab the smallest wire mount from the kit. Put the M3 x 50 screw through it and attach it to the extruder. The wire mount may be a little loose.
  • Using the screws from the extruder, you will be able to attach the wire mount on the back of the printer.

17

Attach wire mount to gantry.

  • Remove the QR code sticker and unscrew the two screws on the left.
  • Grab the other wire mount and use the M3 X 50 screws to attach the mounts to the gantry. 

18

Zip tie wires.

  • Use zip ties to connect the wires to their mounts. Cut the excess wire off the zip ties.

You have finished installing the Ender 3 Direct Drive Upgrade Kit. You will need to rotate the filament holder so work with the new set up. Don’t forget to relevel your bed.

Happy printing!

©2024 Fargo 3D Printing

Fargo 3D Printing is not associated with HID Global and their FARGO division.

LEGAL DISCLAIMER

THE PRODUCTS SOLD ON THIS WEBSITE SHOULD ONLY BE USED BY EXPERIENCED INDIVIDUALS, OR UNDER THE DIRECT SUPERVISION OF EXPERTS. NO WARRANTY OF THEIR SUITABILITY FOR ANY PURPOSE WHATSOEVER IS MADE OR OFFERED BY US. YOUR USE OF THE PRODUCTS SOLD ON THIS WEBSITE IS ENTIRELY AT YOUR OWN RISK. YOUR PURCHASE OR USE OF ANY PRODUCT HEREFROM SHALL SERVE AS YOUR EXPLICIT ACKNOWLEDGEMENT THAT YOU UNDERSTAND AND CONSENT TO THE FACT THAT WE HEREBY DISCLAIM ANY RESPONSIBILITY OR LIABILITY FOR, ANY HARM, LOSS (ECONOMIC OR OTHERWISE), INJURY OR DEATH RESULTING FROM THE ASSEMBLY OR OPERATION OF OUR PRODUCTS, EITHER AS INSTRUCTED OR OTHERWISE, AND AFFIRM THAT UNDER NO CIRCUMSTANCES SHALL YOU BE ENTITLED TO ANY DAMAGES OF ANY SORT WHATSOEVER RELATED TO YOUR USE OR MISUSE OF OUR PRODUCTS.

Log in with your credentials

Forgot your details?