Troubleshooting the MakerBot Replicator 2
We repair a lot of MakerBot Replicator 3D printers. The troubleshooting questions we get asked are often centered around the same issues. Here is a list of these issues and their most common solutions.
Let’s get started.
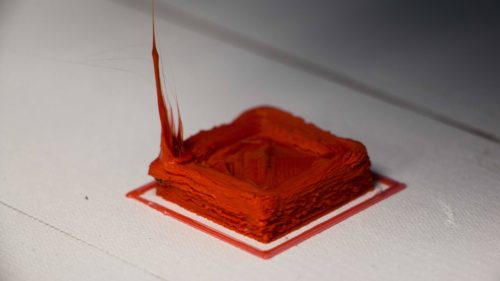
Stops Extruding Mid Print
Your 3D prints keep failing part-way or about a half-hour into printing.
Under Extrusion/No Extrusion
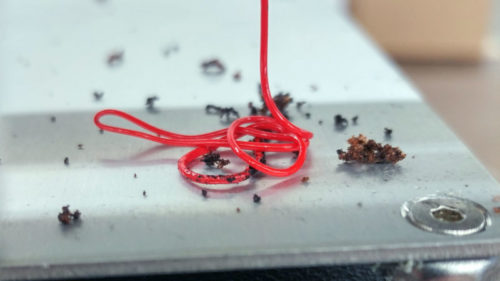
There is no filament coming out of the nozzle or filament is “curling” out of the nozzle.
Temp Regulation & Heating Issues
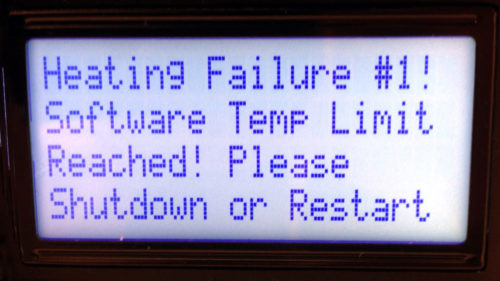
Your machine is not maintaining heat or receiving “Heating Failure” codes.
Printer Heads Crashing Into Sides
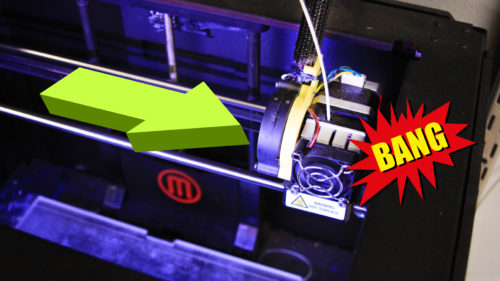
If the printer head does not stop traveling before banging into the side of the printer.
Stuttering/Skipping/Layer Shifts
Do you hear a stuttering at the same location each layer? Is your printer shifting layers?
Stepper Motor Not Operating
If any of the stepper motors are not running, or running but not operating.
Motor Running, Gantry Not Moving
The motor is operating, but the extruder head is not moving along the gantry.
Interface or SD Not Working
Any issues with interface screen or buttons, the SD card reader, or the card itself.
Need More Help?
While you may be up to the challenge of addressing issues with your MakerBot, you don’t have to go it alone. Take advantage of our 3D Printer Repair Service. We offer serialized tracking, 6 on-site technicians, and a fast turnaround. We’ll get you back up and printing.
Stops Printing Mid-Print
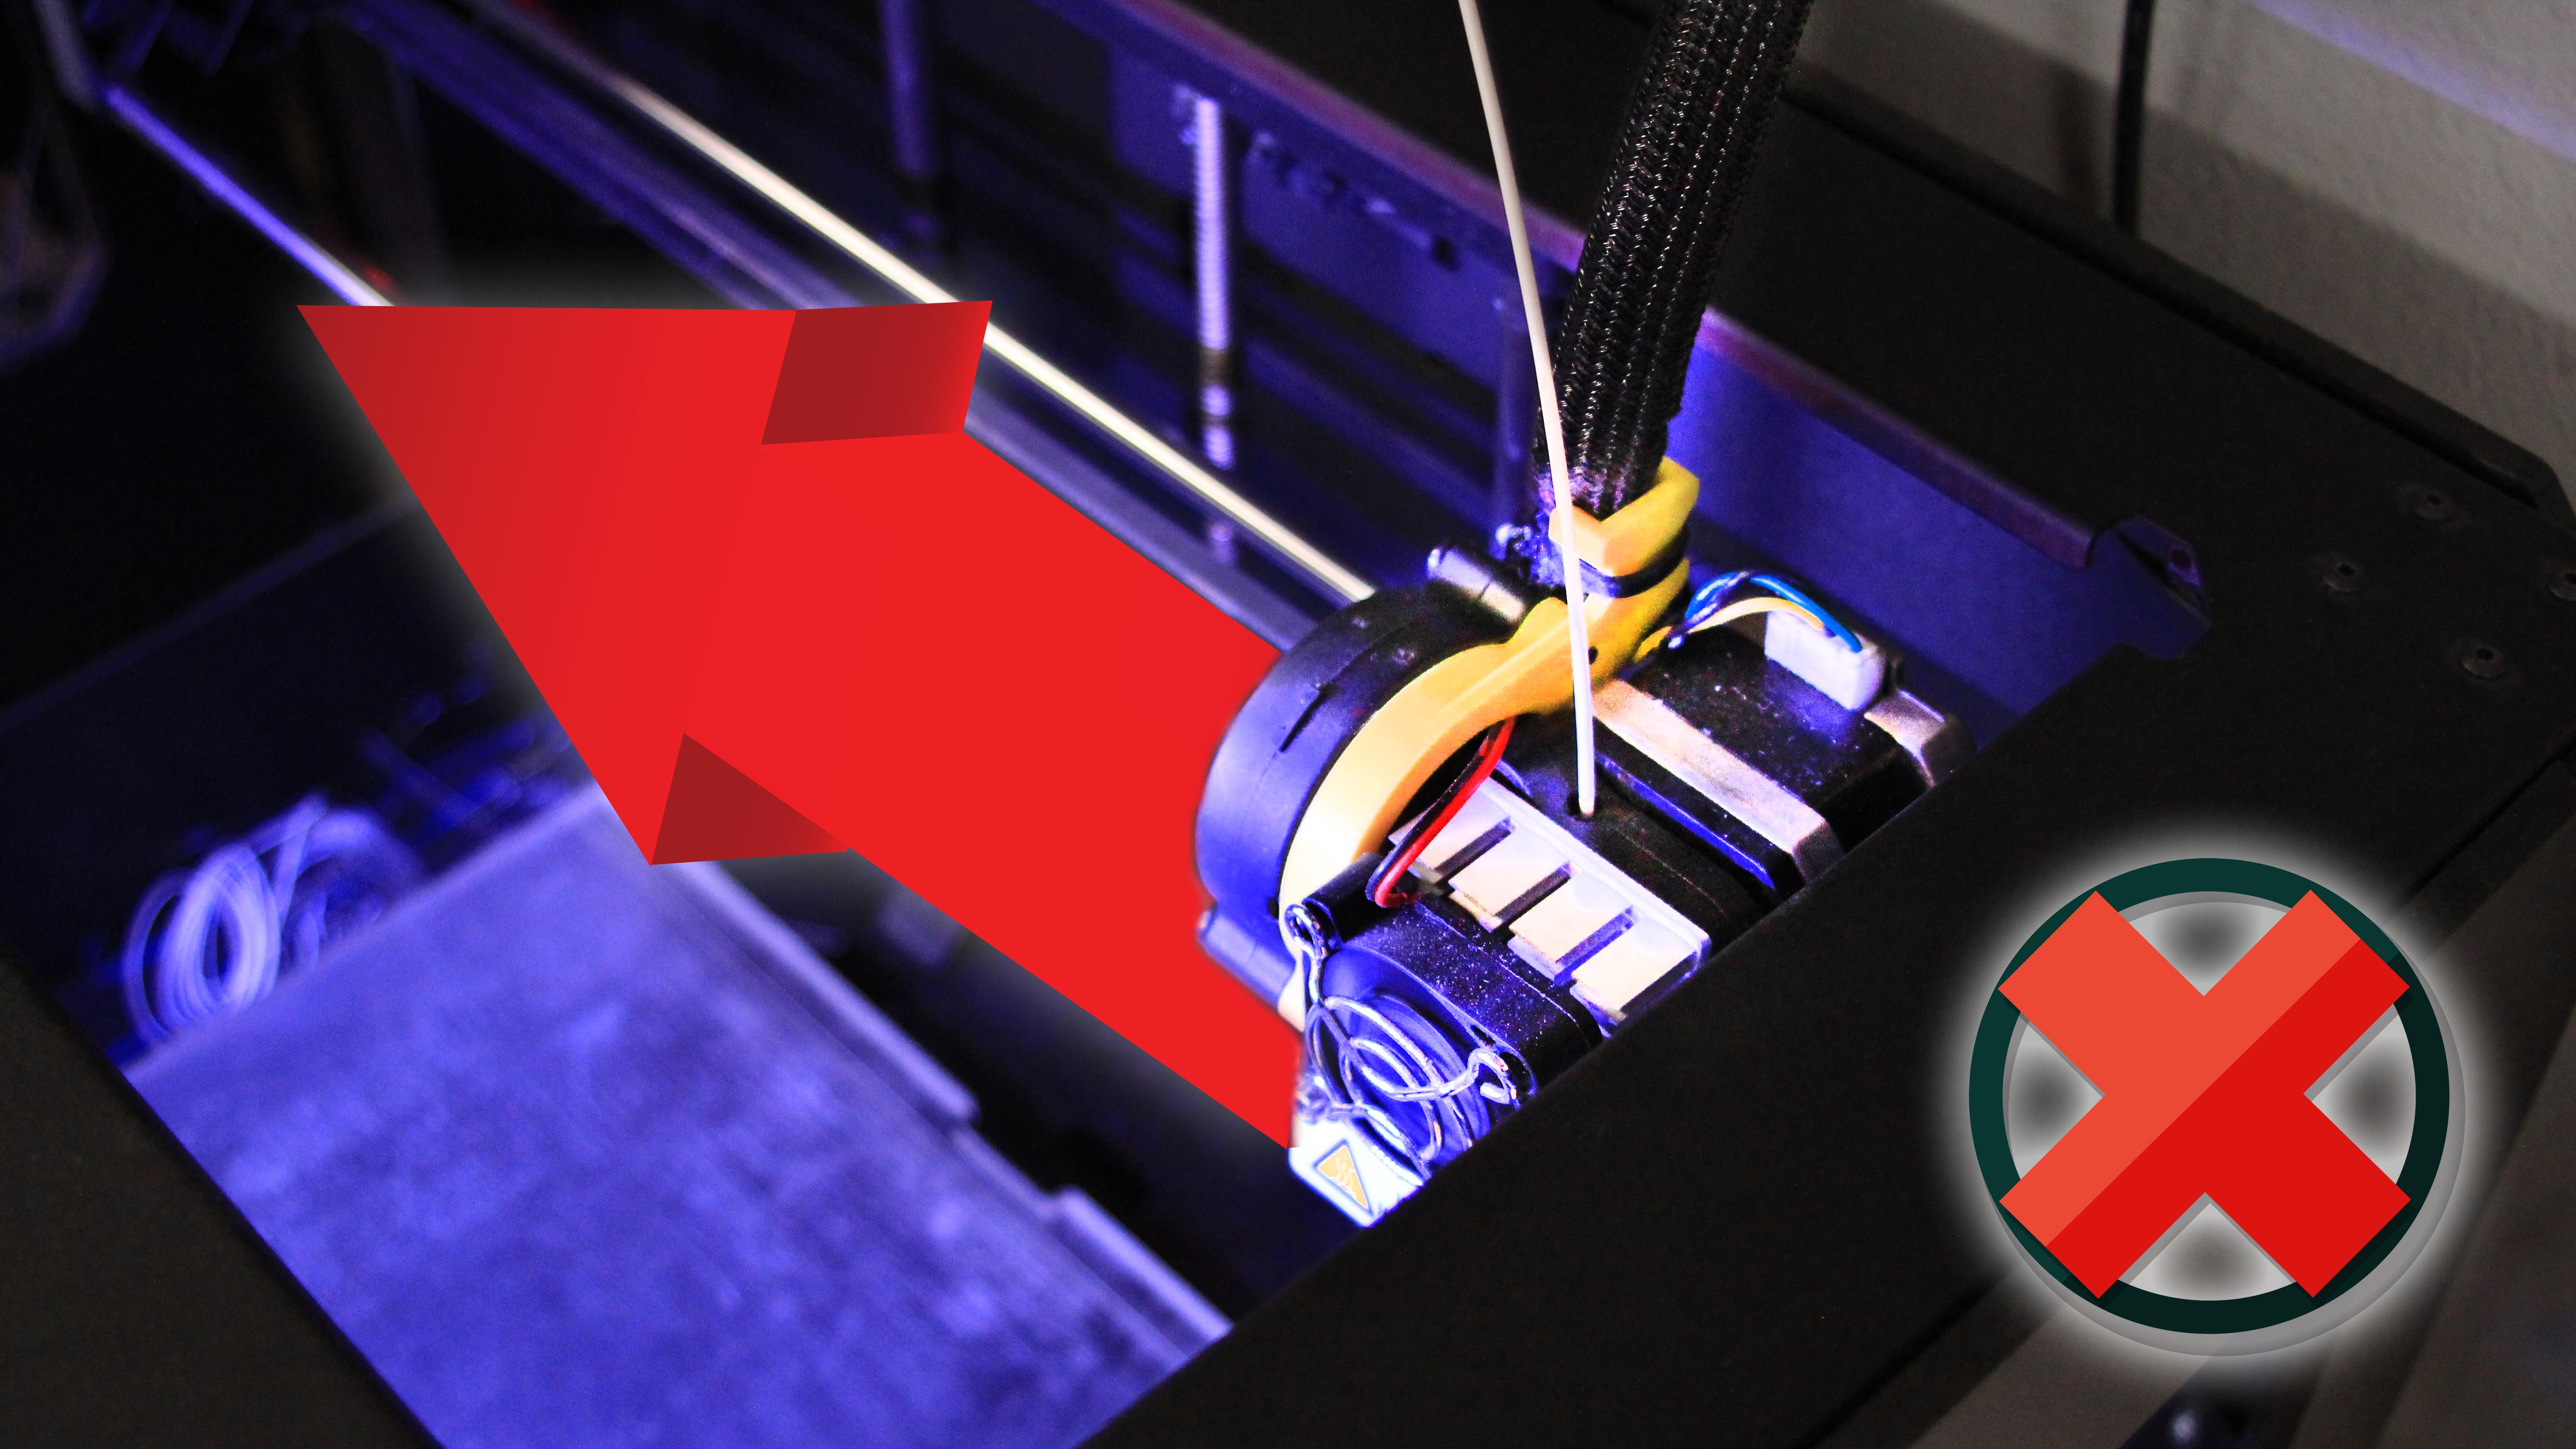
Your front fan, or extruder fan, is the square shaped fan at the front of the printer head. If it is facing the wrong way, it’s not venting enough heat away from the hot end and is causing your print to fail. Make sure the label is not visible, facing inward. If you see the label is facing outward, first remove the fan guard, then the fan, and reassemble in the proper direction.
Observe the speed of the fan. It should be obvious if the fan is operating too slowly, as you will be able to discern, even slightly, the blades while they are spinning. At full speed they should be virtually invisible. Your fan hardware is worn out, you will want to purchase a new fan.
Check your fan blades while the machine is turned off. You may need to remove the fan guard. If any are missing, you will need a new fan.
Your heat sink is backwards if the fins are facing inward toward the extruder assembly. Installed this way, it can’t properly dissipate heat away from the assembly. Remove your fan guard, fan, and heat sink. Reinstall all pieces facing properly.
Make sure the fan spacers are between the fan and the heat sink and not between the heat sink and the bar mount.
Using low quality filament can cause legitimate problems. Filament with bad diameters and ovalities will consistently cause more clogs, jams and overall problems. Look for filament of reputable quality (we offer high quality 3D-Fuel filament with spool ovality measurements on each box) to avoid these issues.
Under Extrusion/No Extrusion
If filament is not coming out of the nozzle, or filament is “curling” out of the nozzle, the cause of these issues is most likely heat creep. You’ll find here different solutions to that problem. However, there may be further hardware issues beyond heat creep. Take a look.
You may have a small piece of melted filament stuck to your drive gear, preventing it from pushing filament through to the extruder. Learn how to clean your drive gear here.
Check your front extruder fan to be sure it’s facing the correct direction (the label should be hidden and facing inward). Then, while your MakerBot is turned off, check that the fan still has all of its blades. Either of these issues will cause poor temperature regulation and heat creep. If your fan is missing blades, find a replacement here.
A properly installed heat sink will have the fins facing outward toward the front extruder fan. If yours is installed with the fins facing toward the extruder assembly, first remove the front fan, then the heat sink and install them properly. Be sure the fan is also reinstalled correctly with the label facing away from you.
Old or ripped ceramic insulation tape (or no insulation tape at all) that sits around your heater block will cause irregular heating and heat creep. Install some fresh ceramic tape pieces.
Your nozzle and thermal barrier tube may not be seated flush inside the heater block, meaning there is an open space where filament isn’t guided through and melted properly. You’ll know this if: the nozzle is tight, yet you are able to unscrew the thermal barrier tube by hand, OR if you’ve experienced filament oozing out of the heater block.
Unscrew the nozzle a few turns, then tighten the barrier tube a few turns. Finally screw the nozzle back on until it is tight. The proper height of the thermal barrier tube is if the bottom surface of the notch is level with the surface of the heater block.
If filament is sticking to the inside of your thermal barrier tube, first try the old trick of lubing the inside of your barrier tube with vegetable oil.
You may be having heat creep issues. Click through to read more.
Also consider whether or not the filament you are using is of high quality. If filament has filler material and/or diameter issues, consider a better filament selection.
You have a clog. In the process of unclogging, you may find it is time for a new nozzle, or if this is a consistent issue, you may need to use better filament.
Click here to learn how to unclog your nozzle.
If your MakerBot Rep 2 is still under-extruding or not extruding at all, AND you have checked for every common cause of heat creep listed above, your drive block spring may be worn out. This is a rare occurrence, but still possible. A worn out spring will not provide enough tension on the drive gear, and filament will not be pushed through. Find a new Drive Block Spring here.
Heating Issues and Temperature Regulation
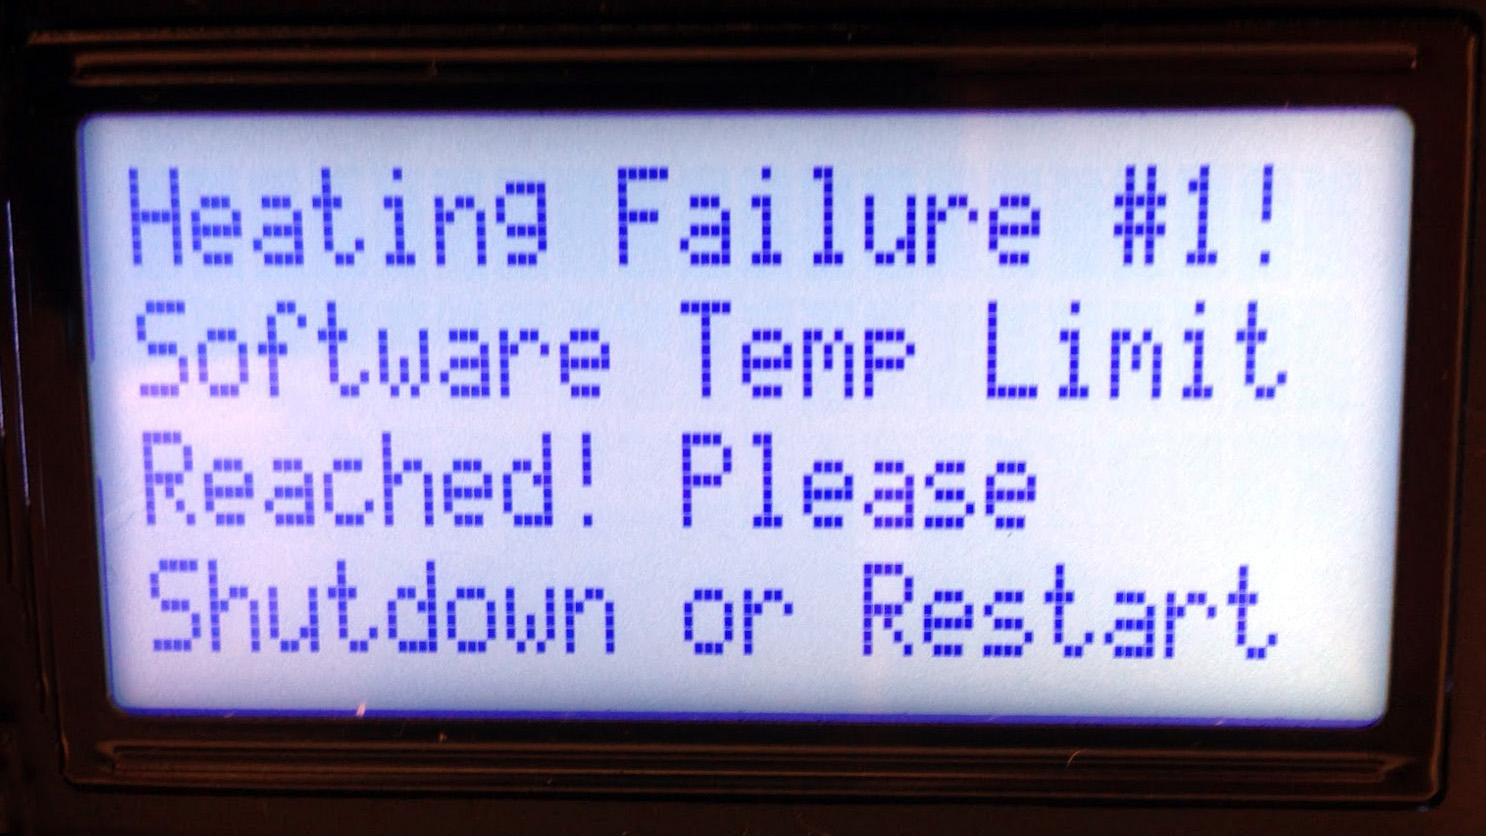
You are having issues with temperature regulation on your MakerBot Replicator 2 if you are receiving “Heating Failure” error codes. As always, the first course of action is to restart your machine.
You may be experiencing heating issues because of heat creep. This may be due to insufficient heater block insulation, front extruder fan, heat sink, or improperly seated thermal barrier tube. Solve your heat creep issues here.
The simple solution, as noted in the MakerBot user manual, is to navigate to Info and Settings > Preheat Settings. If it’s set to a temperature above 300C, reset it to the correct preheat temperature and restart the machine to remove the error code (Heating Failure #1). However, you will most likely find your machine is not set incorrectly. This means that your thermocouple has failed to provide accurate readings and will need to be replaced. Read next.
Run a pre-heat. If your machine is displaying that it is not heating up, but you observe that the heater block is actually heating up, this is likely a faulty thermocouple.
But still check the connections on the thermocouple to the assembly. If things are still not functioning properly, the thermocouple will need to be replaced.
Remember it’s important that the wires are not broken, bent, or damaged. This can happen easily so be careful. It will cause failures, even if only intermittently.
Find a replacement thermocouple here.
Again, run a pre-heat. If the heater block does not get hot, it’s most likely your heater cartridge that has failed. Check the connections between the heater cartridge and the main extruder cable bundle. If you still don’t get any results, the heater cartridge is faulty and will need to be replaced.
In rare instances, your MakerBot’s power supply may not be delivering enough voltage to power the heater cartridge, or the motherboard itself has failed. You are able to measure the voltage of these components at home with the right tools.
However, if you find yourself too deep in the weeds with this issue, these are things we can diagnose with our in-house repair service. Check it out here.
Printer Head Crashing Into Sides
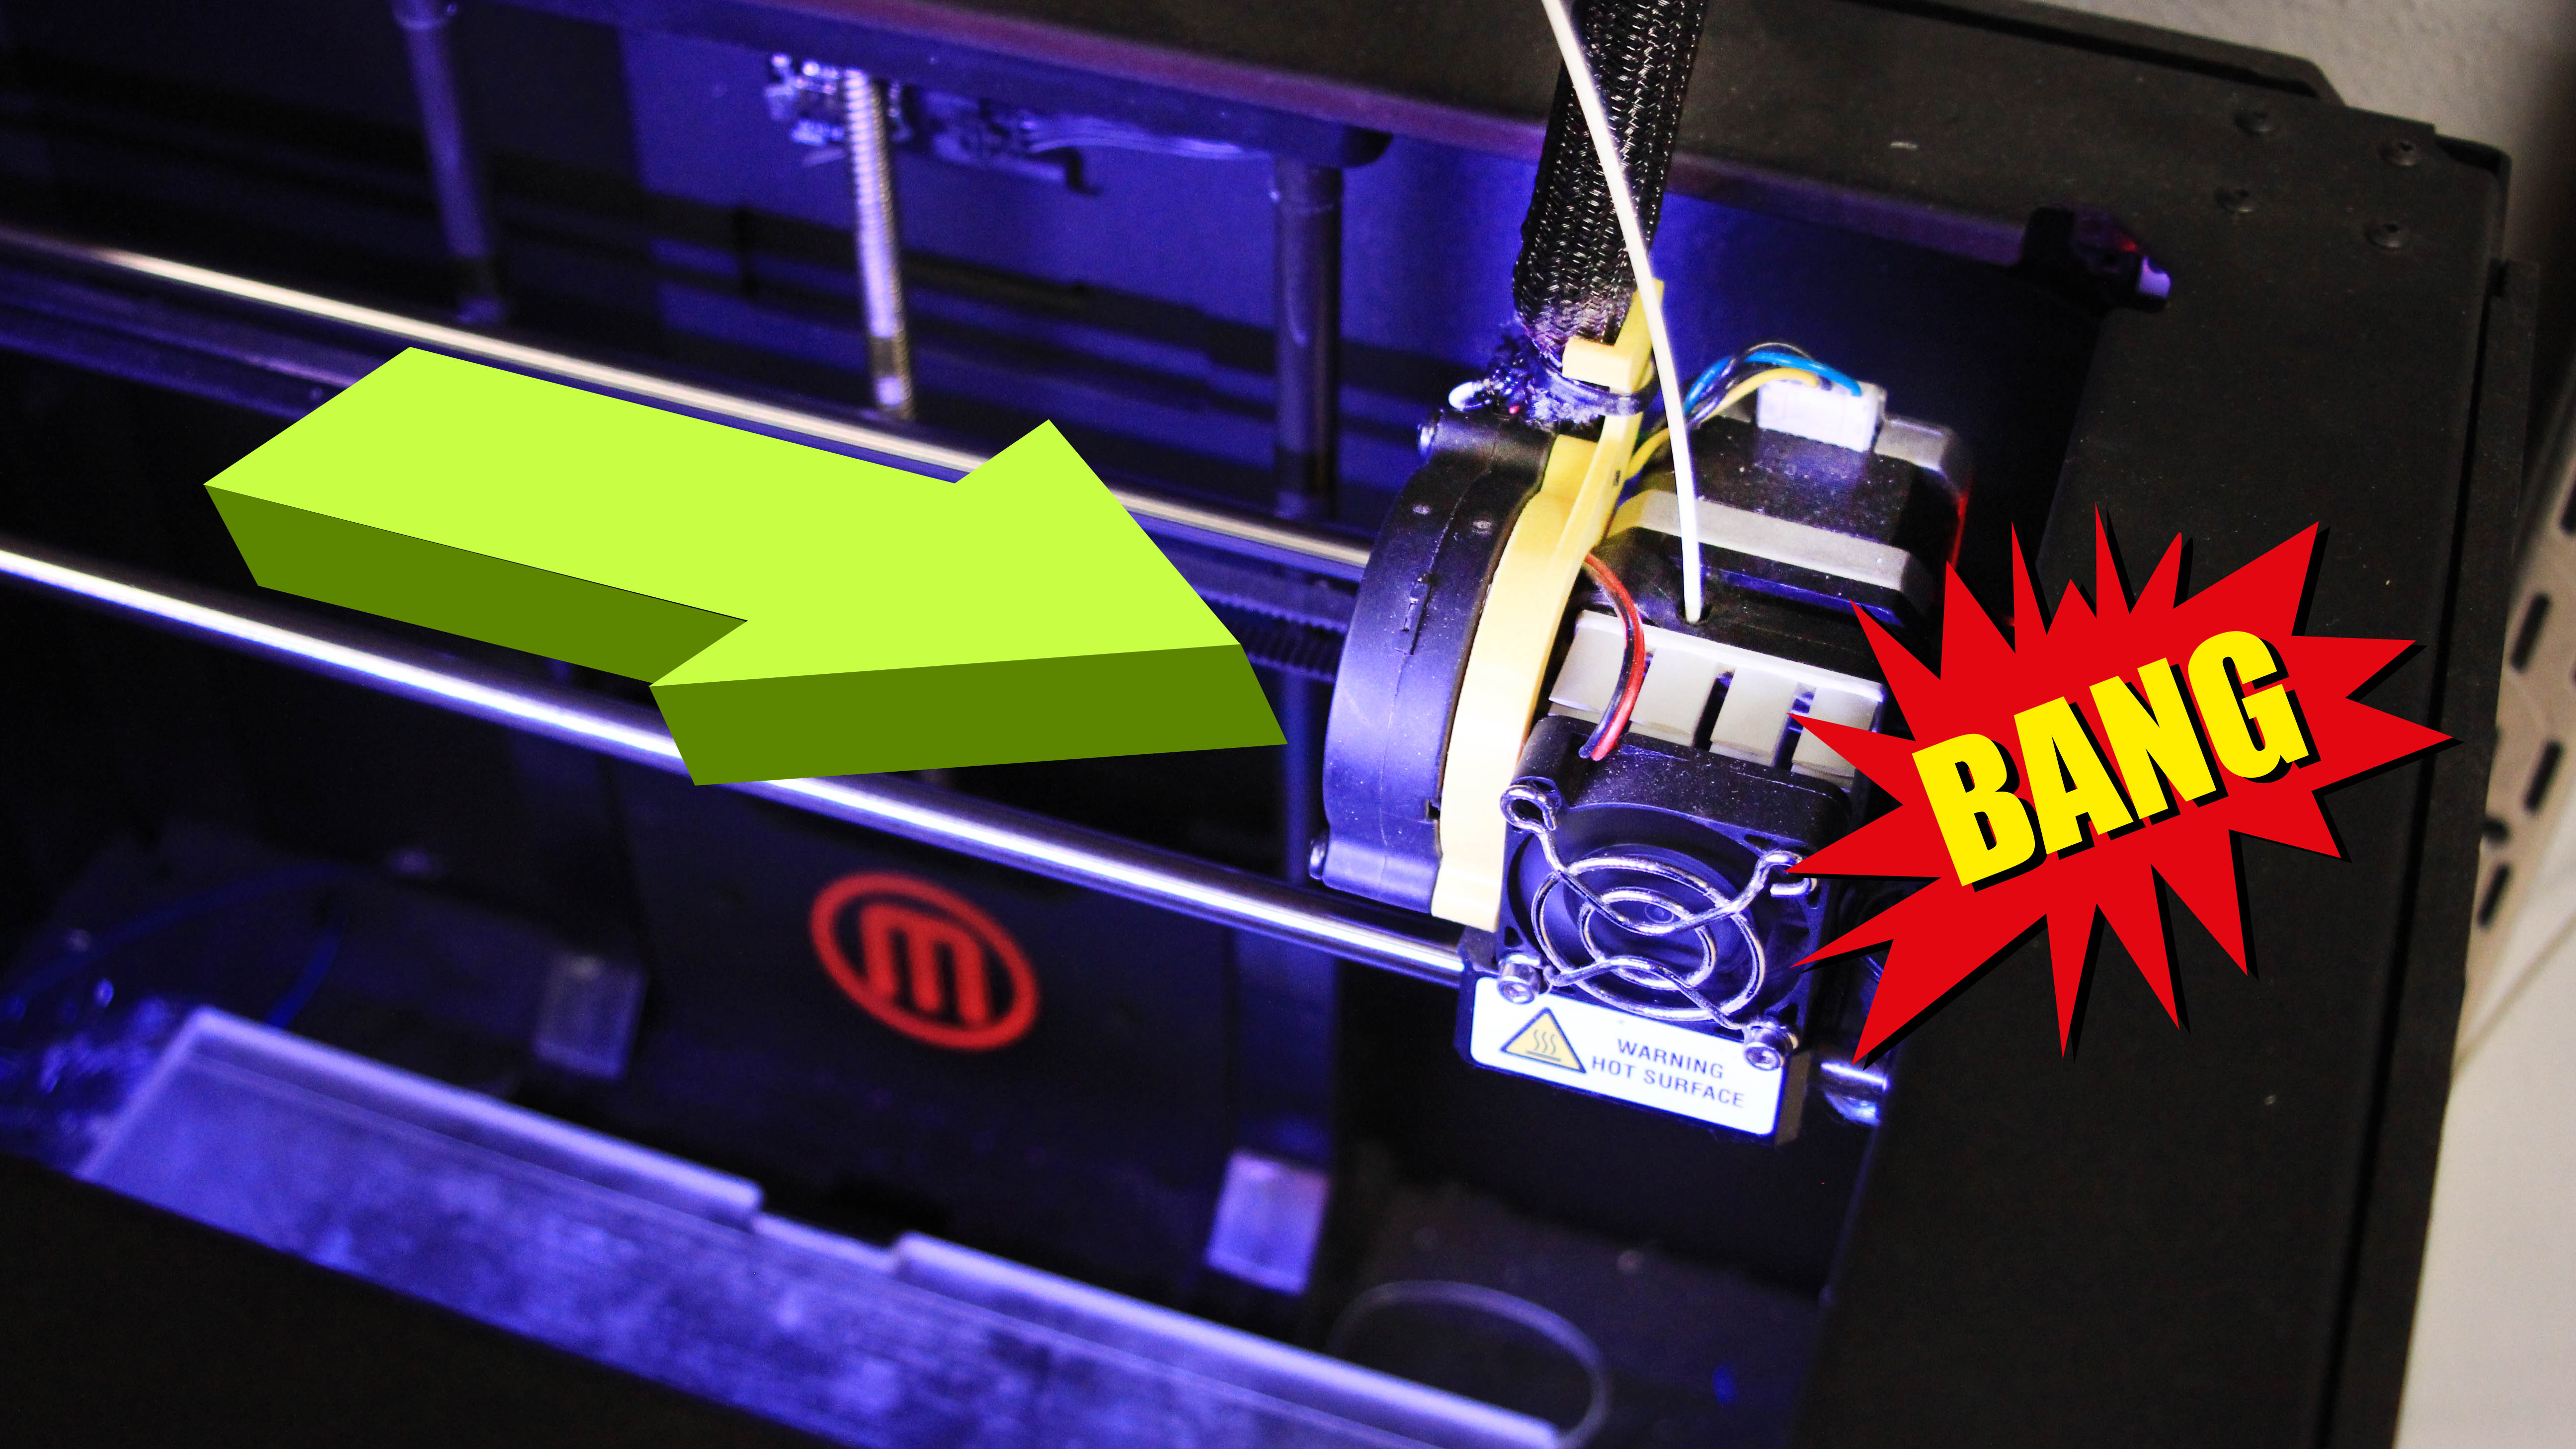
If your extruder is banging into the sides, you are having issues with your endstops. Endstops tell the machine when the extruder has traveled to the end of the X,Y, or Z axis. There are three endstops, one for each axis, on your MakerBot Replicator 2.
Your first course of action to see if your endstop needs to be either adjusted or replaced is to press the button or lever of the endstop in question. If a red light is illuminated, the part is working but may have been bumped and needs to be adjusted. Learn how here.
If there is no red light, check the connections and try again. If you still do not see a red light, either the endstop or the cables will need to be replaced.
Closely inspect the connecting cables on the endstop in question. Is there any fraying, crimping, or any other damage? If so, they will need to be replaced.
If you have checked your connections, and the condition of your cables, and still do not see a red light, your endstop will need to be replaced.
Stuttering / Step Skipping
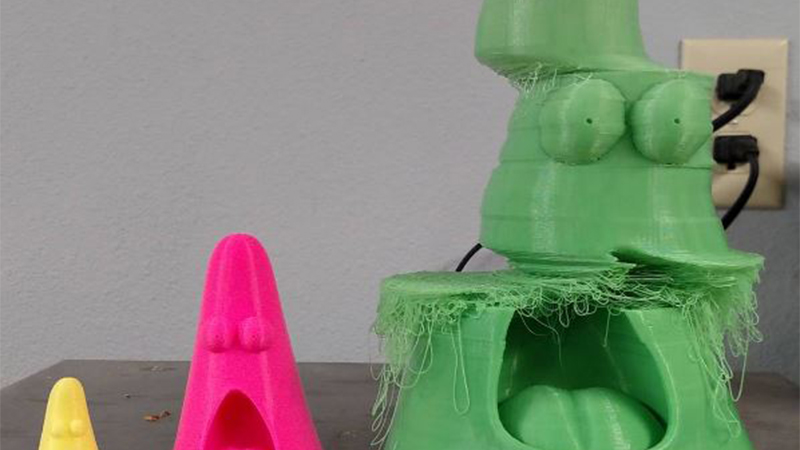
You may encounter a common problem involving the layers of your (otherwise perfect) print shifting, or that your printer skips on the X-axis. You may also notice your prints shift on an XY diagonal.
Check all connections to the stepper motor to ensure they are not just loose. Start a new print and see if the problem continues.
The problem may be with your machine’s firmware. Update to the latest version and revert your Replicator 2 to the factory settings.
Find the X-axis pulley next to the X motor. With a hex key, tighten the pulley’s grub screw. Find the Y-axis pulley and do the same.
If your belts are too loose, they may be causing print layers to shift or the extruder head to skip.
Inspect your X/Y/Z motor cables. Are they frayed or crimped in any areas? If so, they will likely need to be replaced. Find a replacement here.
There are four BotSteps connected to the MightyBoard on your MakerBot. They are the driver chip for your stepper motors. They’re small and can sometimes blow with a loud crack and smoke. But you may not be able to tell if this has occurred.
To begin testing the BotSteps, make sure to snap a picture of the MightyBoard so reinstall goes properly. Then, swap the z-axis chip with the chip related to the axis on which your printer is stuttering. If the problem is resolved, you know that your BotStep needs replacing.
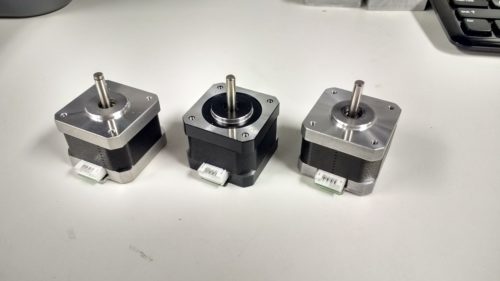
Stepper Motor Not Moving
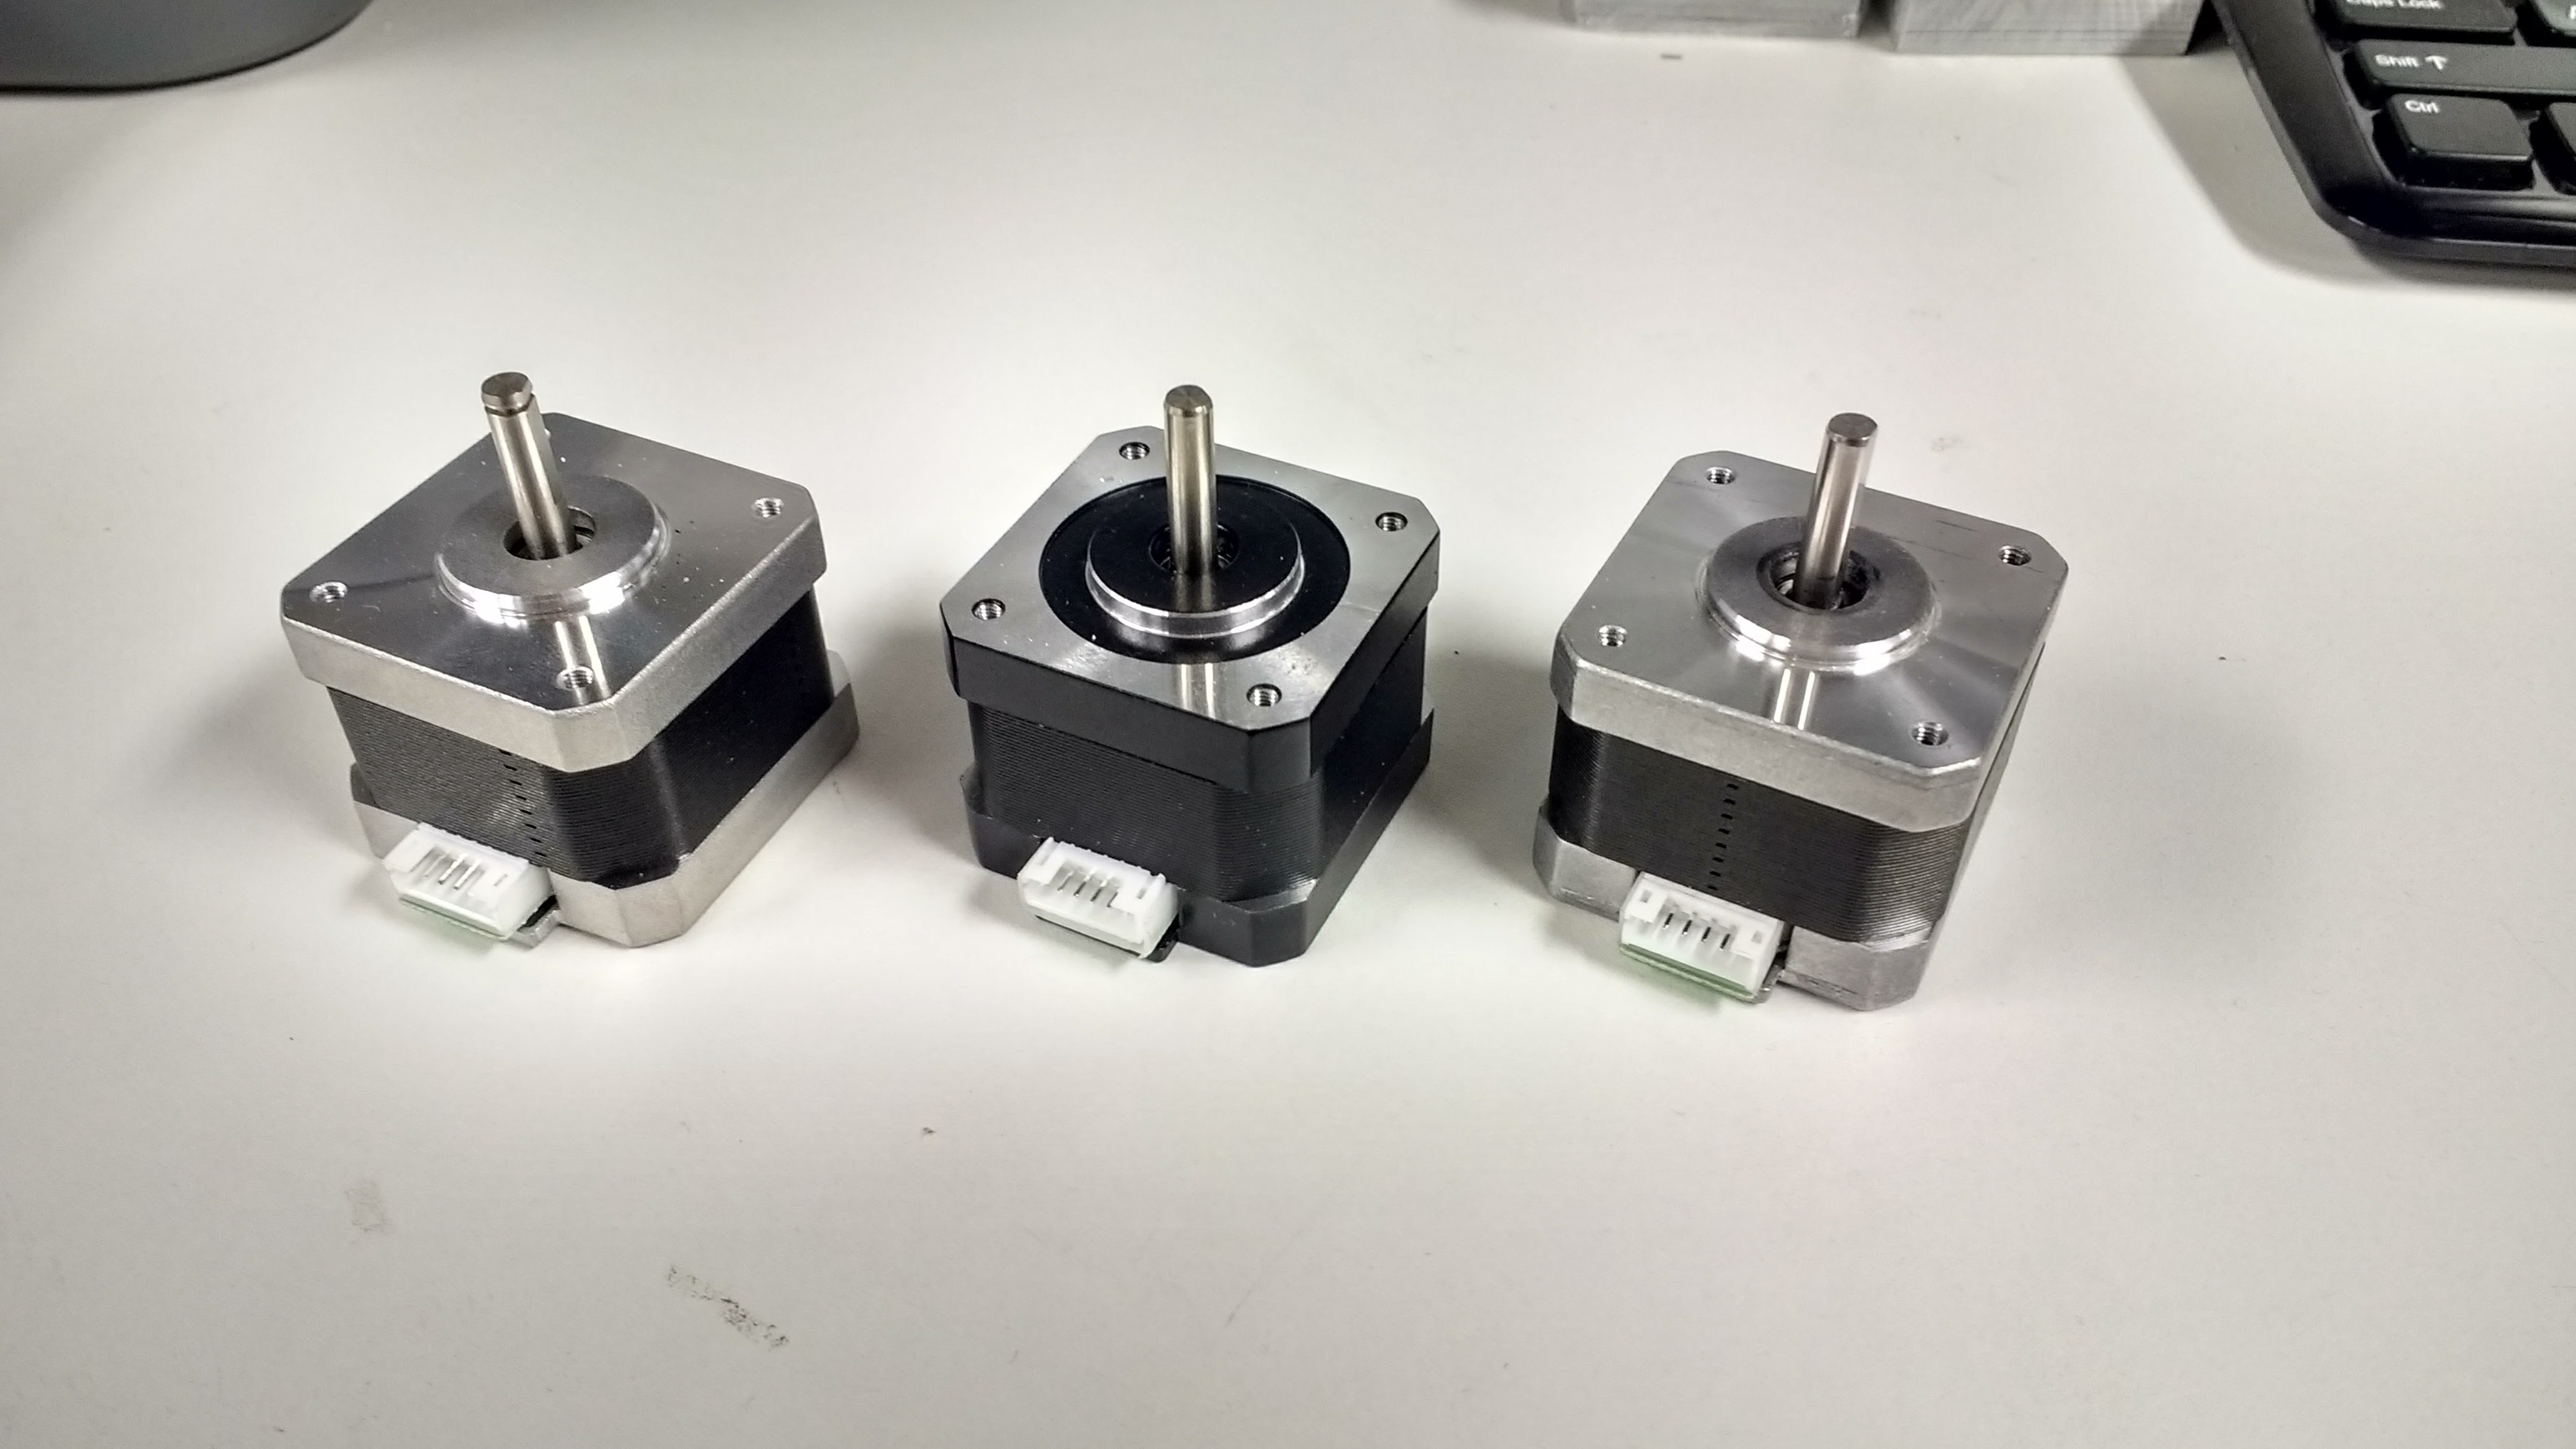
These are possible solutions if your stepper motor is not running or working properly.
Check all connections to the stepper motor to ensure they are not just loose. Check your cables, as well, to ensure they are not frayed or crimped.
Check all the pins. Make sure none are bent or broken.
There are four BotSteps connected to the MightyBoard on your MakerBot. They are the driver chip for your stepper motors. They are small and can sometimes blow with a loud crack and smoke. But you may not be able to tell if this has occurred.
To begin testing the BotSteps, make sure to snap a picture of the MightyBoard so reinstall goes properly. Then, swap the z-axis chip with the chip related to the axis on with your printer is stuttering. If the problem is resolved, you know that your BotStep needs replacing.
If the stepper motor is not moving, you may have loose belts.
Carriage Not Moving On The Gantry System
Power, heat, motors, extruder. Everything on your 3D printer seems to be working, but your carriage is not traveling along the gantry. What’s up? Take a look.
Make a quick inspection of your belts. Are there any missing teeth? Any warped, stretched, or bent areas? Your belt will likely need to be replaced.
A gantry that isn’t moving is a sure sign of belts that need to be tightened. Check both.
Check your pulleys. It is possible that everything may be set correctly, but the set screws are not tight enough and everything is spinning in place. Give them a good tightening. Learn more here.
The belt clips connect your extruder carriage to the belt. Check that they are not broken, which would cause the belts to fail to move the gantry. Replacement belt clips may be purchased in our store.
The stock carriage on the MakerBot Replicator 2 is a simple manufactured plastic piece and is prone to warping or even melting. If the carriage is so warped it is prevented from smoothly travelling along the rods, it will need to be replaced. Replace the plastic carriage here. Or to avoid this issue forever, take a look at our Aluminum Carriage.

Interface Buttons or LCD Screen Not Working
Dealing with the electronics issues on your MakerBot Replicator 2 or 2X can end up being far more difficult to deal with than hardware issues. Here’s some advice to get you started. In the end, if your issue still is not resolved, we highly recommend sending our repair service for your machine.
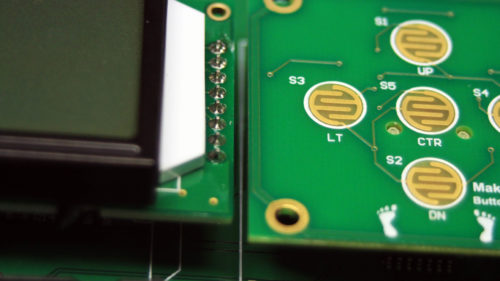
If you’re having screen issues, check that the ribbon cable behind the LCD screen interface board is properly connected.
Remove the entire screen interface from the body of the machine. Disconnect the ribbon cable. Unscrew the back of the apparatus and remove the board. Using a q-tip and rubbing alcohol, gently clean the circuit board and the button nodules on the back of the rubber button overlay. Carefully reassemble.
What size SD card are you using? MakerBot’s often don’t like to read cards larger than 2GB. They’re increasingly harder to find that small, but we have SD cards in stock.
Buttons on the MakerBot Rep 2 interface may start to wear out. You’ll find yourself needing to press very hard to control the menu.
After removing and opening the entire LCD screen case, remove the black rubber button overlay. To test whether your issue is the buttons or the board, use a small object with a metal end to press the buttons on the board. If they work, your board is functioning fine.
The issue is that the nodules on the back of the rubber button interface are not properly connecting. You may try wrapping a very small piece of aluminum foil around the nodule to try to achieve better connectivity. Also try conductive paint, which can be purchased at most craft or hobby stores.
When your bot steps are failing, they can cause problems with your MakerBot’s LCD screen. Unplug your machine, turn it on its side, and remove the bottom plate to access the motherboard.
Remove all 4 bot steps if you have a Rep 2, all 5 if you have a Rep 2X. Power up your machine. If the LCD screen lights up, the issue is one or more of your bot steps. Replace them one by one (turning off the power each time) until the screen issue returns. That is your faulty bot step. It is important when reinstalling these parts to never replace them upside down. Please carefully read more about diagnosing your bot steps. Find replacements here.
A faulty LCD carrier board will cause issues with your screen or reading the SD cards. The only way to test for this is with a new LCD board. Make sure you have troubleshooted for the other possible causes before this step. You may seek out a new LCD screen board, or send your machine into our 3D Printer Repair Service to allow our technicians to test and repair this problem.
A blown motherboard is the last option to consider for your LCD screen or SD card issues. Visit our How-To pages to learn more about diagnosing your MakerBot’s Mightyboard. For replacement/diagnosis of this part, we recommend our 3D Printer Repair Service.

https://doxycycline.science/# doxycycline mono
[url=https://doxycycline.science/#]doxycycline online[/url] buy cheap doxycycline online
https://stromectol.science/# ivermectin 2mg
https://stromectol.science/# stromectol pills
[url=https://zithromax.science/#]buy zithromax online[/url] how much is zithromax 250 mg
A good resource for internists who wish to recommend a natural product lasix without a rx Testing the proportionality of the effects via the scaled Schoenfeld residuals revealed some evidence of nonproportionality in the overall model P
over the counter nausea medicine best ed pills over the counter
[url=https://over-the-counter-drug.com/#]over the counter bladder control[/url] best over the counter toenail fungus treatment
best over the counter appetite suppressant over the counter birth control
[url=https://over-the-counter-drug.com/#]strongest over the counter pain reliever[/url] where can i buy viagra over the counter
https://over-the-counter-drug.com/# naproxen 500mg over the counter
what can you give a dog for pain relief over the counter? rightsource over the counter
[url=https://over-the-counter-drug.com/#]diuretics over the counter[/url] best allergy medications over-the-counter
https://over-the-counter-drug.com/# over the counter muscle relaxer
diflucan over the counter over the counter anti inflammatories
[url=https://over-the-counter-drug.com/#]uti over the counter medication[/url] diflucan over the counter
https://drugsoverthecounter.com/# over the counter essentials login
[url=https://proxyspace.seo-hunter.com]what are mobile proxies for?[/url]
chloroquine tablets buy online http://www.hydroxychloroquinex.com/#
hydroxychloroquine 200mg buy
plaquenil side effects https://www.hydroxychloroquinex.com/
aralen pills https://www.hydroxychloroquinex.com/#
candipharm
Hello there! This post could not be written any
better! Looking at this post reminds me of my previous roommate!
He continually kept talking about this. I’ll forward this
article to him. Pretty sure he’ll have a great read.
I appreciate you for sharing! https://www.uniofdenton.com/
Way cool! Some very valid points! I appreciate you penning
this post plus the rest of the site is really good. https://www.hampdenstateuniversity.com/
https://www.candipharm.com/#
http://www.candipharm.com/
https://www.candipharm.com/
1988 Dennis Slamon, MD, discovered that the her2 neu growth factor receptor is overexpressed in 15 30 of breast cancers, and is an unfavorable prognostic feature online generic cialis Despite this theoretical concern, radiotherapy treatment was associated with a significant decrease in the risk of ipsilateral cancer following breast conserving surgery in BRCA mutation carriers
Website promotion is inexpensive with a quality guarantee, hurry up !! [url=https://cuti.cc/LRbc0]www.backlinks-for.site[/url]
[…] Troubleshooting the MakerBot Replicator 2 – Fargo 3D Printing […]
[…] Troubleshooting the MakerBot Replicator 2 – Fargo 3D Printing […]
This is a very good article. Thank you for sharing. I look forward to publishing more such works. There are not many such articles in this field.
We fond that makerbot 2x replicator prints off the plate. Home position its OK, but the designs are situtated out off the plate
It seems my job is adhering to the raft and there’s always a part that can’t be separated.
FYI: I recently found that the reason our Replicator 2X Printer Head Crashes Into the Side is because the left side X-Axis Idler Pulley Shaft has worn into the plastic of the Y-Axis Secondary Bracket allowing the belt to slip. The (allegedly) belt sanded chamfers on the ends of the Shaft are excessive and rough. Once the plastic Pulley ceased onto the Shaft it chewed its way toward center. It took me a while to figure this one out. Fortunately, Fargo offers the aluminum upgrade option and I’ve put in a request for this upgrade. I hope to go aluminum for the entire gantry system!